Garage Makeover Ideas: From Messy to Organized
Garage Makeover Ideas That Actually Transform Your Space
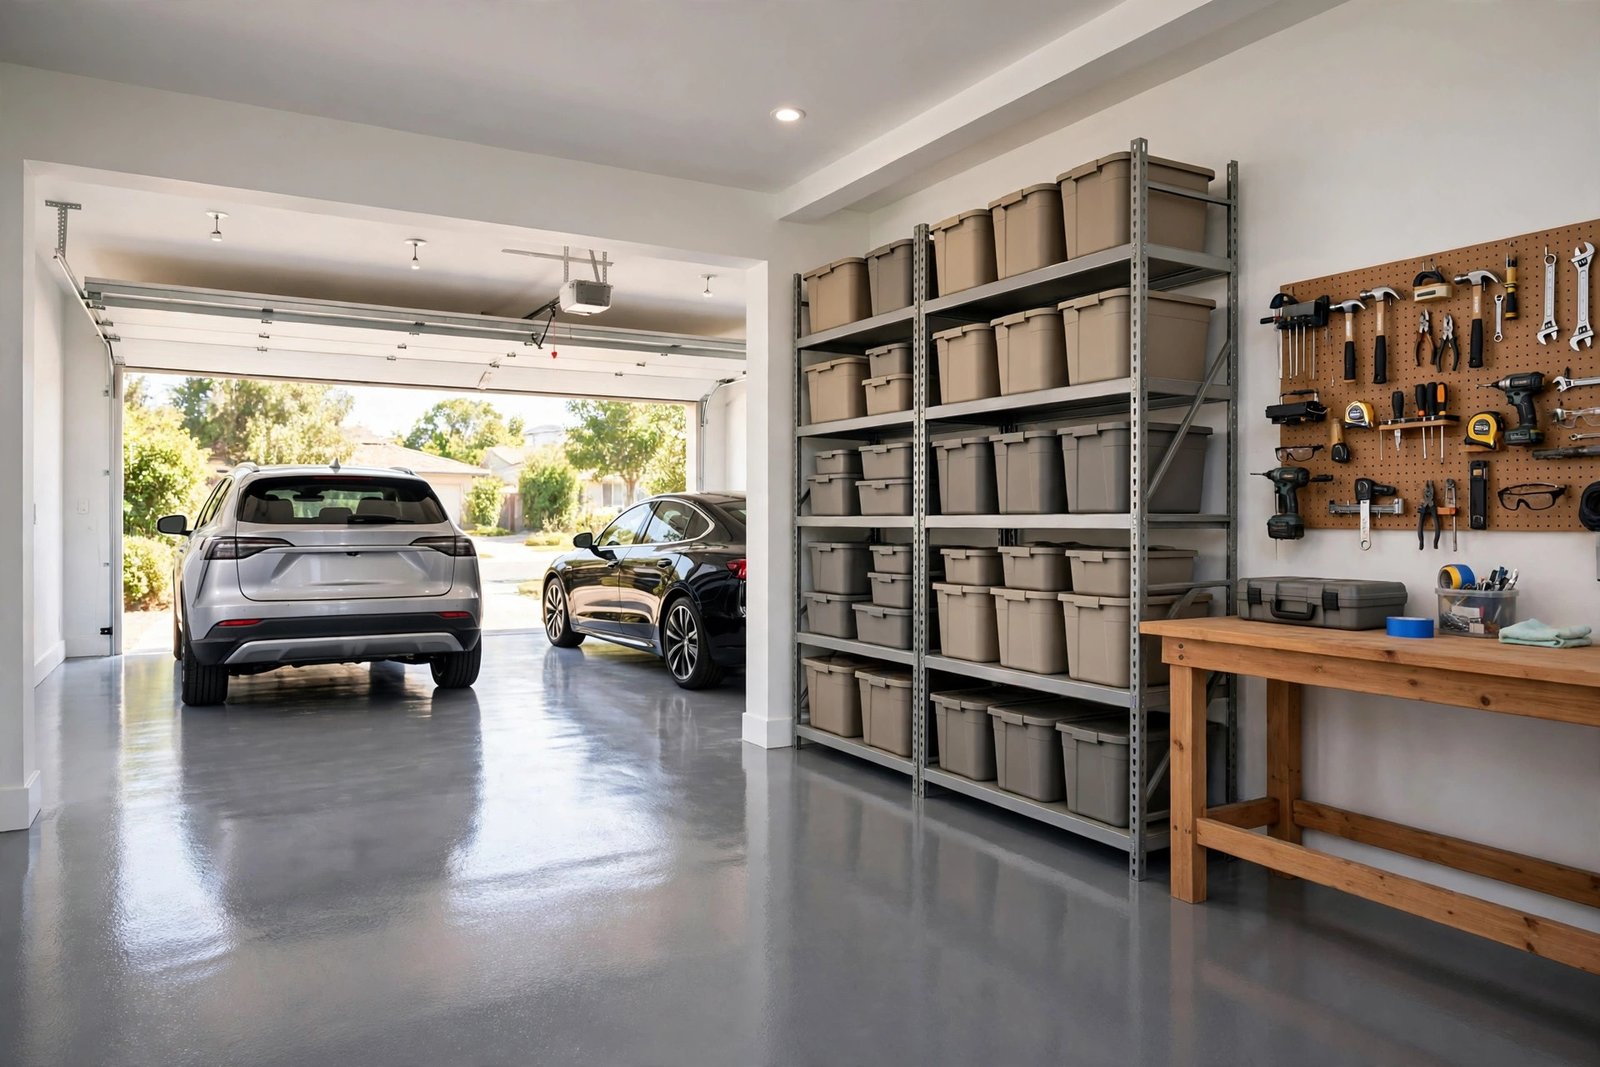
Garage makeover ideas work best when you treat the garage like a room, not a shed. A room gets paint, light, a floor you can walk on barefoot, and a place for everything. A shed gets whatever fits through the door. The difference between the two is a weekend of work and a few hundred dollars — and it is the difference between a garage you avoid and a garage you actually use.
This guide walks through a makeover in the order that works: clear it out, fix the floor, paint the walls, add light, then put the storage back in zones. By the end you will know what each step costs, what to do first, and what a before and after garage makeover really looks like.
BEFORE YOU START: MEASURE, BUDGET, PLAN
A makeover without a plan becomes a shopping trip, and a shopping trip becomes a garage full of new bins sitting on the same dirty floor. Start with three numbers: the floor area in square feet, the wall height, and the budget.
The budget decides the makeover. A weekend refresh — cleanout, paint, one LED light and a shelf — runs about $200 to $500. A full DIY makeover — epoxy floor, painted walls, lighting, slatwall and shelving — runs about $1,000 to $2,500. A professional makeover, with a pro epoxy floor and built-in cabinets, runs roughly $5,000 and up. Pick the tier first, then buy inside it.
Take before photos. Not for social media — for yourself. A makeover takes a week of evenings, and by day three you will forget how bad it was. Before photos are the only proof the work was worth it, and they are the photos every before and after garage makeover article uses to show the change.
THE FLOOR FIRST: EPOXY, PAINT OR TILES?
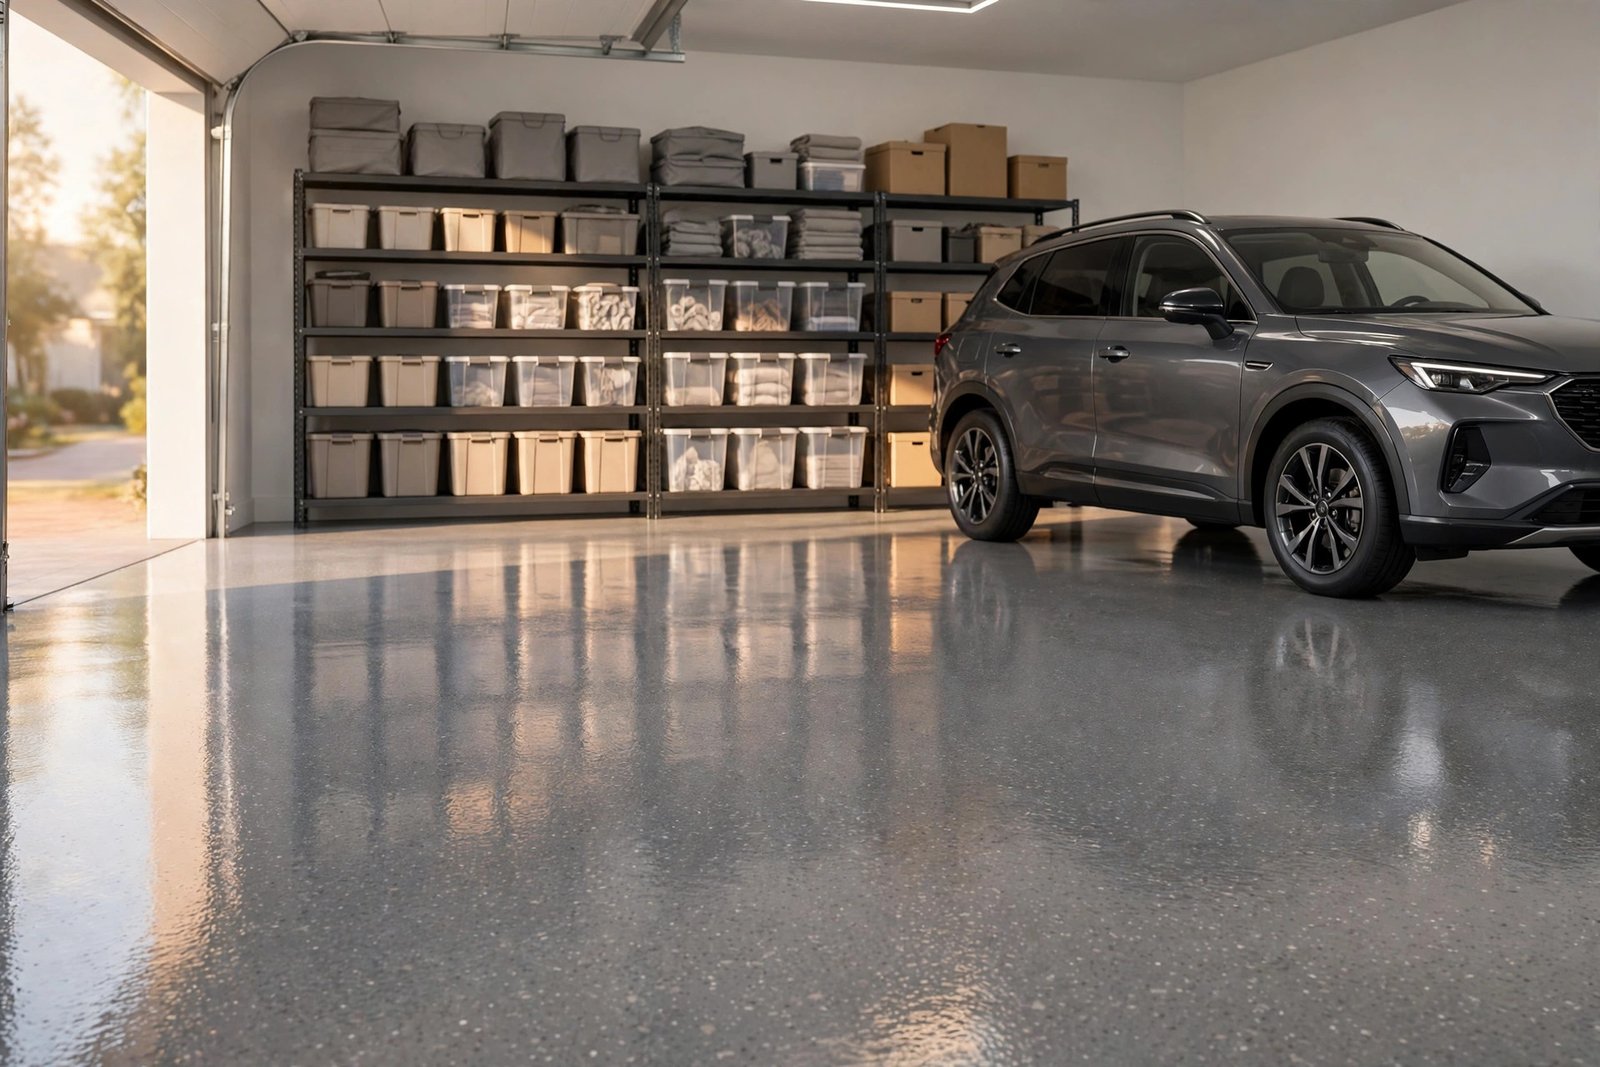
The floor is the biggest surface in the garage, so it changes the room most. Three options cover almost every garage.
Epoxy is the best floor: a two-part coating that turns grey concrete into a glossy, oil-proof surface. A DIY epoxy kit for a two-car garage runs about $100 to $200, and a professional epoxy job runs about $3 to $7 per square foot. The catch is the prep: the concrete must be clean, dry and etched, or the epoxy peels within a year. Give it a full weekend — one day to prep, one day to coat — and do not park on it for a week.
Garage floor paint is the budget pick: a single-part paint made for concrete, about $30 to $60 a gallon, covering roughly 300 square feet per gallon. It looks good for a year or two, then the tire marks and hot-tire pickup start to show. The best garage floor paint is an epoxy-based paint, not a latex one — latex peels where the tires sit. Paint is the right choice when the budget is small or the garage is a rental.
Interlocking tiles are the fast pick: plastic or rubber tiles that snap together over the concrete, about $1 to $3 per square foot, installed in an afternoon with no drying time. They hide cracked concrete, come up easily if one breaks, and feel softer underfoot than epoxy. They are the right choice when the floor is ugly and the makeover must be done by Sunday night.
WALLS: PAINT AND SLATWALL

Bare drywall or bare studs make a garage feel unfinished, and unfinished feels messy no matter how organized the bins are. Two coats of paint change that in a day. White or light grey paint, about $30 to $50 a gallon, makes the garage brighter and makes the dirt visible — which sounds bad, but visible dirt gets cleaned, and hidden dirt stays. Paint the walls before the storage goes back, because painting around shelves takes three times as long.
Slatwall is the upgrade that earns its money. A slatwall panel — horizontal grooves that hold hooks, shelves and bins — runs about $100 to $200 for a 4 by 8 foot section, and it turns a blank wall into storage that rearranges in minutes. Put slatwall on the wall behind the workbench first, then add sections where the bikes and tools live. Our garage storage ideas guide covers the racks and hooks that hang on it.
LIGHTING: THE CHEAPEST TRANSFORMATION

A garage with one bare bulb looks like a cave, and a cave never feels organized. Light is the cheapest transformation in a makeover: an LED shop light, about $25 to $50, mounted under a shelf or on the ceiling, turns the work area brighter than the rest of the house. Two lights — one over the workbench, one over the parking area — cover a two-car garage.
The rule is simple: light the work, not the ceiling. A light above the bench, shining down on the work, beats a light in the middle of the room that throws your own shadow over the bench. And pick daylight bulbs, 5000K, not warm white — daylight shows the true color of the paint, the oil and the parts, and it makes the garage feel bigger.
STORAGE GOES BACK IN ZONES
This is where the makeover meets the organization work. Do not put everything back where it was. Put it back in zones: the daily zone by the door, the work zone around the bench, the seasonal zone on the ceiling rack, the sports zone on the wall. Our garage organization ideas guide covers the zone system in full, and our garage shelving guide covers the steel, wire and wood shelves that hold the bins.
The rule is one zone per wall. The wall by the door holds the daily stuff — shoes, coats, the kids’ sports gear. The back wall holds the workbench and the tools. The side wall holds the bikes and the seasonal bins. A garage with four zones looks organized from the door, and a garage that looks organized stays organized, because everything has a place to return to.
THE WORKBENCH ZONE AND THE DOOR
A makeover needs a bench, even a small one. A 4-foot bench against the back wall, with a pegboard above it and a light over that, turns a corner of the garage into a workshop. Our garage workbench ideas guide covers the DIY, bought and folding options — a basic DIY bench runs about $50 to $100, and it is the single most-used surface in a finished garage.
The garage door is the last piece, and the cheapest one: wash it, paint it if it is faded, and insulate it if the garage gets hot or cold. Our how to insulate a garage door guide covers the kit and the install — about $120 to $185 for the kit — and an insulated door makes the whole makeover feel finished, because the biggest wall in the room stops leaking air.
BEFORE AND AFTER: WHAT ACTUALLY CHANGES
A before and after garage makeover is not a new garage. It is the same garage with four changes: a floor you can see yourself in, walls you can lean on without dust, light you can work under, and storage with a place for everything. The cars park in the same spots. The tools are the same tools. What changes is that the room works.
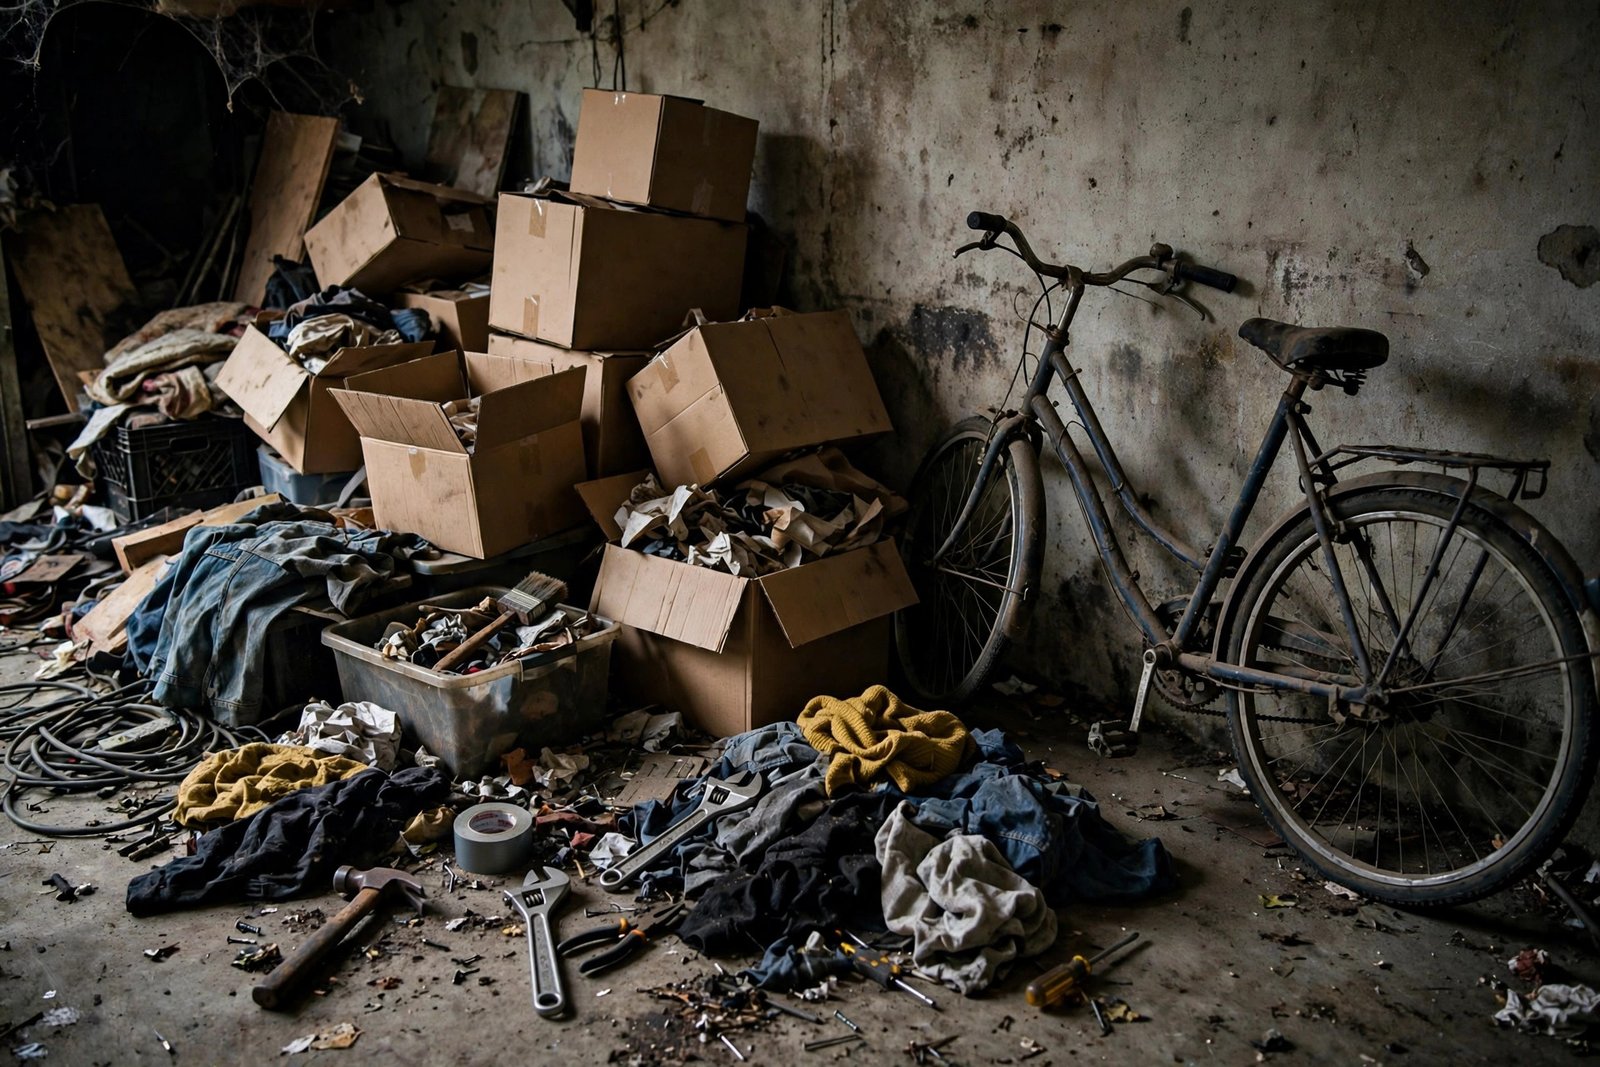
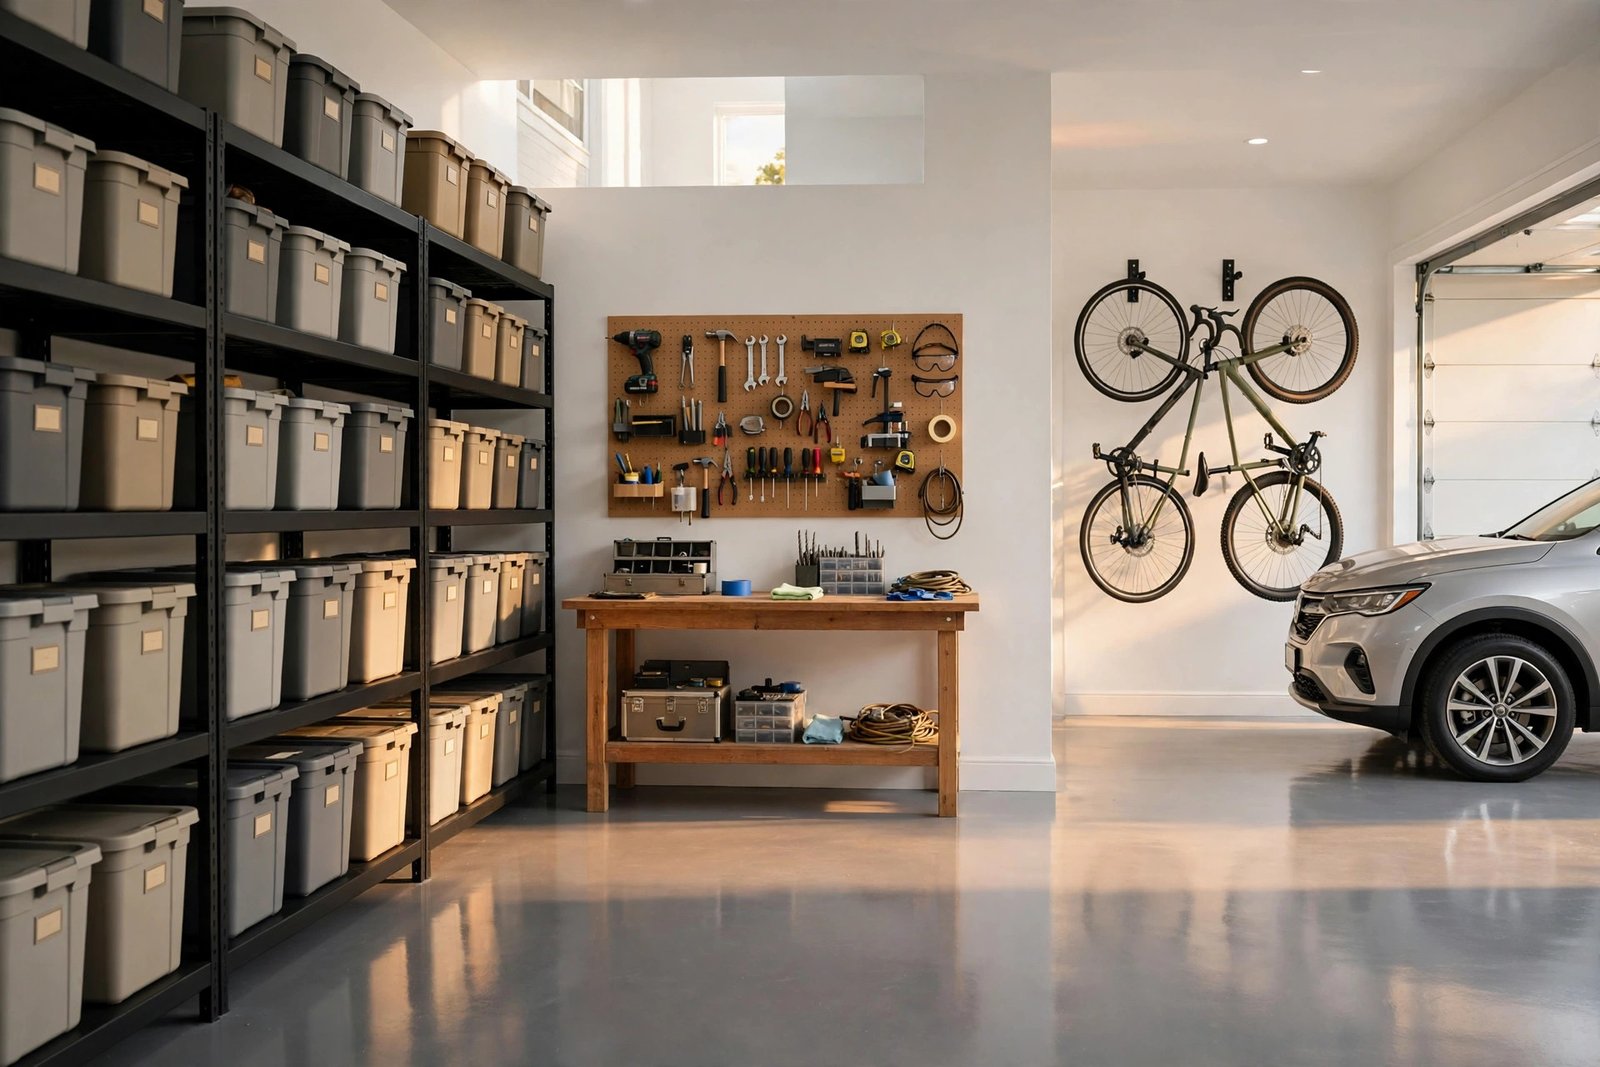
The most common surprise is the time. A weekend refresh takes a weekend. A full DIY makeover takes two to three weekends of evenings — one for the cleanout and floor, one for the paint and light, one for the storage. A professional makeover takes a week, and the garage is unusable for most of it. Plan the parking before you start, or the cars spend the week on the driveway.
WHAT TO AVOID
The most common mistake is buying storage before cleaning out. New bins in a garage full of things you do not need is a tidy mess, not a makeover. Clean out first — the keep, donate and trash sort from our organization guide — then buy storage for what is left.
The second mistake is skipping the floor prep. Epoxy over dirty concrete peels, paint over oily concrete bubbles, and tiles over a wet floor grow mold underneath. Clean, dry, then coat — in that order, every time.
The third mistake is the budget creep. A makeover that starts at $500 and ends at $3,000 is a makeover that never finishes, because the money runs out halfway through the storage. Pick the tier, buy inside it, and save the upgrades for next year.
WHAT IT COSTS
A weekend refresh — cleanout, paint, one LED light, one shelf — runs about $200 to $500. A full DIY makeover — epoxy floor, painted walls, two LED lights, slatwall and shelving — runs about $1,000 to $2,500. A professional makeover — pro epoxy floor, built-in cabinets, full lighting — runs roughly $5,000 and up.
The honest advice is the same as every article in this series: start with the weekend refresh, live with it for a month, and only then buy the next piece. The first month shows you what is actually missing, so the second purchase is the right one.
FREQUENTLY ASKED QUESTIONS
How much does a garage makeover cost?
A weekend refresh runs about $200 to $500. A full DIY makeover runs about $1,000 to $2,500. A professional makeover with a pro epoxy floor and built-in cabinets runs roughly $5,000 and up. Pick the tier first, then buy inside it.
How long does a garage makeover take?
A weekend refresh takes one weekend. A full DIY makeover takes two to three weekends of evenings — one for the cleanout and floor, one for the paint and light, one for the storage. A professional makeover takes about a week.
Can I do a garage makeover myself?
Yes — the cleanout, paint, lighting and shelving are all DIY jobs, and a DIY epoxy floor kit runs about $100 to $200. Hire a pro only for the epoxy floor if the concrete is cracked or damp, or for built-in cabinets if the budget allows.
What is the best garage floor paint?
An epoxy-based floor paint, not latex — latex peels where the tires sit. A DIY epoxy kit for a two-car garage runs about $100 to $200. A pro epoxy job runs about $3 to $7 per square foot. The prep matters more than the product: clean, dry and etched concrete, or the coating peels.
What color should I paint garage walls?
White or light grey. Light colors make the garage brighter, make the dirt visible so it gets cleaned, and make the room feel bigger. Two coats of paint, about $30 to $50 a gallon, change the room in a day.
How do I make a small garage look bigger?
Paint the walls white, add two LED shop lights, and get everything off the floor onto wall shelves and ceiling racks. Light plus empty floor is what makes a small garage feel big — our garage ceiling storage guide covers the overhead racks that free the floor.
Do I need a permit for a garage makeover?
Paint, flooring, shelving and lighting usually need no permit. A permit is needed only if you move walls, add electrical circuits or change the structure. Check your local rules before cutting into a wall or adding a new circuit.
Does a garage makeover add home value?
A clean, organized garage with a good floor helps a home sell faster, and buyers notice it on the first walk-through. It rarely adds a fixed dollar amount the way a kitchen does, but a finished garage photographs better and shows better than a messy one.
Where do I start a garage makeover?
With the cleanout. Sort everything into keep, donate and trash, take before photos, then fix the floor, paint the walls, add light, and put the storage back in zones. Never buy storage before the cleanout.
Can I do a garage makeover in a weekend?
A refresh, yes: cleanout, paint, one LED light and one shelf in a weekend for about $200 to $500. A full makeover — epoxy floor, slatwall, full shelving — needs two to three weekends, because the floor alone needs a day to prep and a day to cure.
THE BOTTOM LINE
Garage makeover ideas work when they go in order: clean out, fix the floor, paint the walls, add light, then put the storage back in zones. A weekend refresh for $200 to $500, a full DIY makeover for $1,000 to $2,500, a pro job for $5,000 and up. Take before photos, pick the tier, and buy inside it.
Once the makeover is done, the systems that keep it that way are the next job. Our garage organization ideas guide covers the zone system and the daily habits, and our garage storage ideas guide covers the racks, cabinets and shelving that hold everything in its place.

