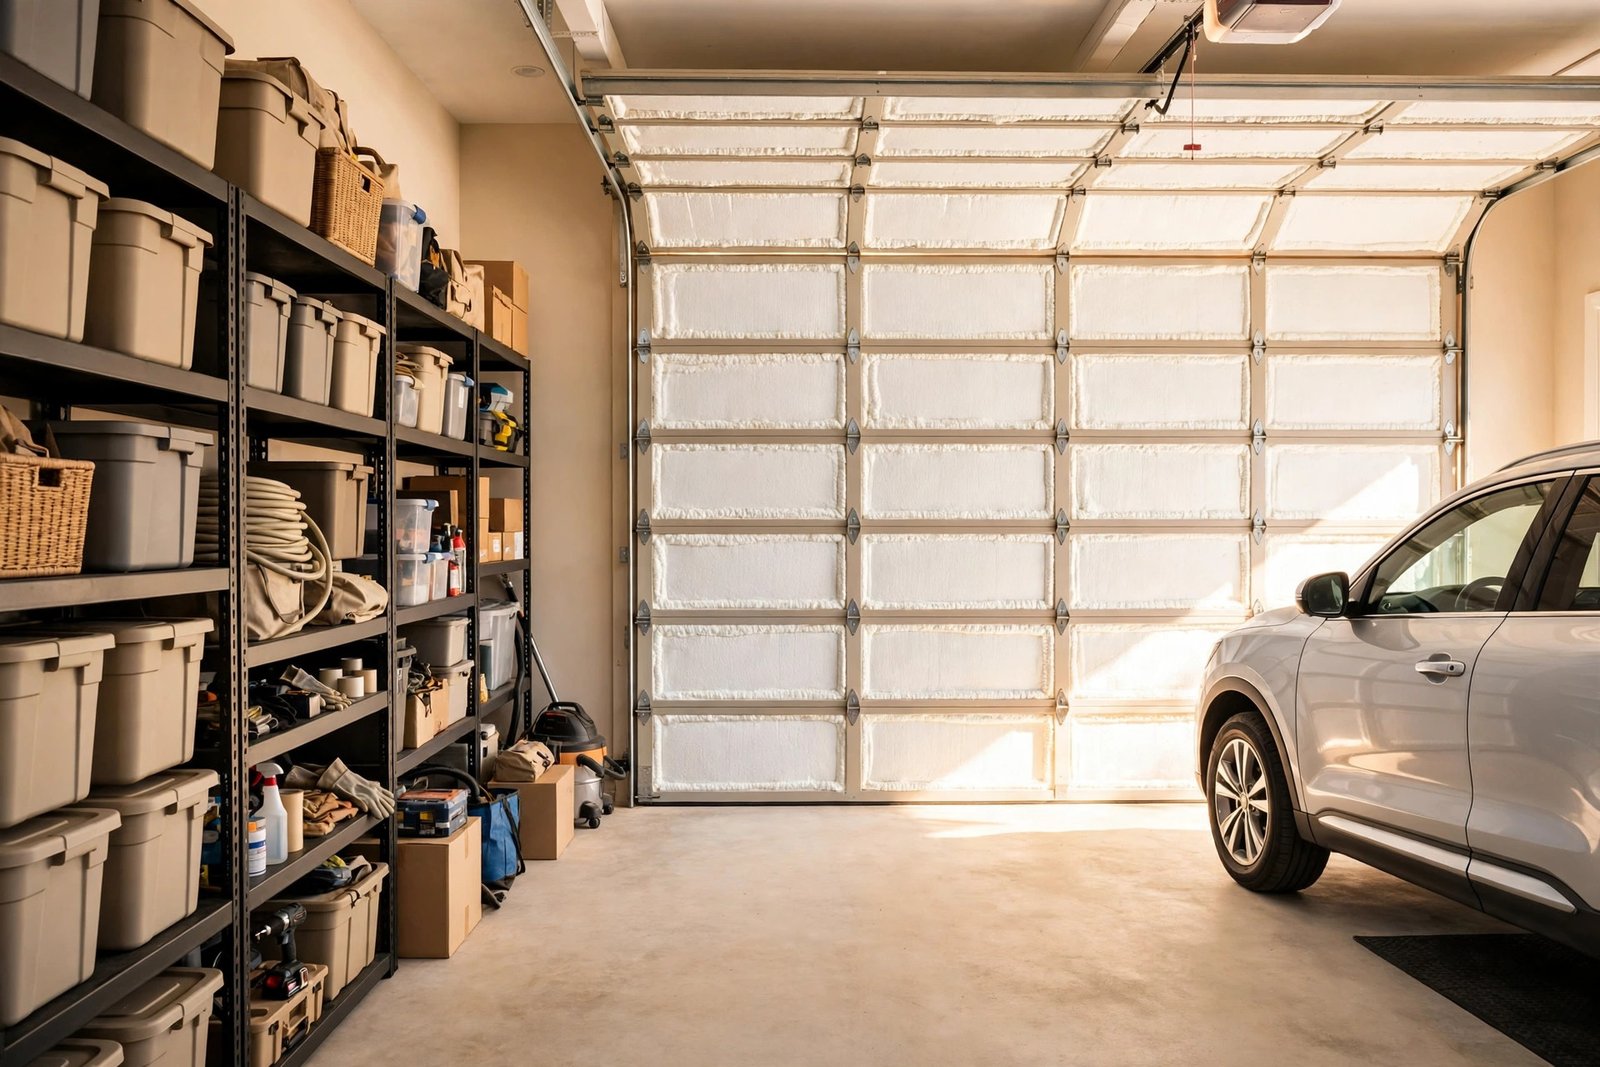
Garage Door Insulation: How to Insulate a Garage Door
Learning how to insulate a garage door is one of the cheapest upgrades you can make yourself. Your garage door is the biggest hole in your garage. It is a thin sheet of steel or wood, usually with nothing inside it at all, and it lets the cold straight in all winter and the heat straight in all summer. One afternoon, one kit, and a garage that feels noticeably warmer in January and cooler in July.
This guide covers the whole job. Which kits are worth buying, what it costs for a single door and a double door, the step-by-step method, what to do when there is no kit to buy, and the sealing work that matters just as much as the panels. Everything here is for a US home, with US brands and US prices.
DOES INSULATING A GARAGE DOOR ACTUALLY WORK?
Short answer: yes, but know what you are getting. The garage stops swinging with the weather. Go out on a cold morning and put your hand on the inside of the door. Before insulation, it is freezing. After, it is just cool, and the garage holds a few degrees more than it used to. In summer it works the other way. The door stops pumping heat into the room after a sunny afternoon.
Now, the honest limit. It will not turn an unheated garage into a living room. If your walls and ceiling are bare, the door alone cannot fix that. No kit will. But if the garage is where you work, work out, do laundry, or keep things you actually care about, the change is real. You will feel it the first cold morning after the job, when you open the door and the air inside is not biting anymore.
Two smaller things show up later. The panels add weight and stiffness, so the door sounds less hollow when it closes, more of a thud than a clang. And the fiberglass kits take some of the echo out of the room. Neither is the reason to do the job, but both are nice to have.
THE BEST GARAGE DOOR INSULATION KITS COMPARED
Buy a kit rather than cutting loose boards, unless you already know the exact panel sizes of your door. A kit is cut to fit a standard single door, it comes with the clips, and it costs about the same as buying the materials separately.
Owens Corning Garage Door Insulation Kit — fiberglass panels with a vinyl facing, R-8. Eight panels, 22 by 54 inches, about 63 sq ft of coverage. Price roughly $120-$185 (Home Depot listed it at $184.30 in November 2026). This has the highest R-value of the panel kits here, and it is the best pick for cold winters. Fitting takes a little longer because the panels are held with retention clips. Testers also report about 20% less noise from the door.
Matador Garage Door Insulation Kit — EPS foam with a laminate face, R-4.8. Eight panels, 54 by 20.25 inches, 1.25 inches thick. Price roughly $80-$100. The easiest kit to fit: no tools, cut to size and push into place. The best first-timer pick. Its R-value is lower than the Owens Corning kit, so it suits mild winters and garages that only get used now and then.
Reach Barrier 3009 — a reflective radiant barrier that blocks about 95% of radiant heat. Eight panels, 4 by 2 ft, about 64 sq ft. Price roughly $59-$90. No R-value is published for it in the usual sense, because it works by reflecting heat rather than resisting it, and it needs an air gap to do that. Best for hot, sunny doors and for keeping a garage cool. Weakest of the group for deep winter cold. Fitting is the easiest of all. Bob Vila named it a 2026 top pick for easy fitting and noise dampening.
NASA TECH White Reflective Foam Core (US Energy Products) — foam core with a foil face, R-8. Price roughly $65-$85 for a single door; the two-car version is roughly $114 and covers about 216 sq ft. The best pick for a double door, because one kit covers it instead of buying two single-door kits. Its strongest gain is in summer heat.
SmartGARAGE Premium Reflective Kit — foam core with a heavy foil face. Price roughly $110-$130. Strong in both seasons in one tester’s Midwest numbers, but harder to find in stock, so treat it as the premium option rather than the lead recommendation.
Cellofoam and Insulfoam kits — EPS foam panels, about R-4 to R-5.2 per panel. Code-listed foam options. Useful only if you need a second foam pick.
R-VALUE, IN PLAIN ENGLISH
R-value is just a number for how much heat a material holds back. The higher it is, the warmer you stay in winter. Cold climate? Look for R-8 or higher. Mixed climate, hot summers and cold winters? R-6 to R-8 will do it. Hot and sunny all year? R-4 to R-6 is plenty, or go with a reflective barrier instead. Reflective kits play a different game. They bounce the sun’s heat back off the door instead of soaking it in. That is why they look great in summer tests and weak in winter ones. Foam and fiberglass are the other way round: they slow cold down, so winter is where they earn their money.
So which one ends up in your cart? That comes down to your winters. Properly cold winters, the kind where the garage floor hurts your feet in January? Owens Corning. Mild winters and your first time doing this? Matador, because it is the easiest fit of the lot. Sun beating on the door all day and summer is the real enemy? Reach Barrier. And a double door? NASA TECH two-car kit. It is the only one here that covers the whole door in a single box, so you are not buying two kits and hoping the sizes match.
One note on prices: these are US retail ranges from 2026 review roundups. They move with retailer sales, so check the current price at Home Depot or Amazon before you buy.
WHAT IT COSTS
For a single door (9 by 7 ft, about 63 sq ft, 16 panels), a kit costs roughly $50-$200, with about $120 as the typical figure. By material type, reflective foil runs about $90 a door, fiberglass batts about $120-$185, and rigid foam about $190.
For a double door (16 by 7 ft, about 112 sq ft, 32 panels), a kit costs roughly $90-$530, with about $220 as the typical figure. Reflective foil runs about $170, fiberglass about $150, and rigid foam about $340. Nearly every kit is sold for one single door, so a double door normally needs two kits. The NASA TECH two-car kit is the exception.
If you hire the job out, professional fitting runs about $250-$500 for a single door and about $500-$650 a door. A brand-new insulated door, supplied and fitted, runs about $750-$1,900 for a single and about $1,500-$3,700 for a double. That is a different job from this one. This guide is the DIY kit job, and the kit job is the cheap one.
The cheapest way to do it is a reflective kit on a door that only needs summer help, or foam board cut to fit if you already own a saw and the panels are a standard size. The most expensive mistake is buying a kit for a single door and finding out at home that your door is a double.
As a rough guide, expect about $1-$2 per sq ft for a kit. Measure the door first, count the panels, and buy for the size you actually have.
HOW TO INSULATE A GARAGE DOOR, STEP BY STEP
Do the whole job from inside the garage, with the door closed. You do not need to take the door off, and you do not need to touch the opener, the springs, or the tracks. If any of those parts look damaged, stop and call a door technician. Springs in particular are not a DIY job.
Before you start, get everything in one pile: the kit, a tape measure, a utility knife or a fine saw, a marker, gloves, safety glasses, and a step ladder for the top panels. Nothing kills a DIY afternoon like hunting for a tool halfway through. First door? Give yourself two to three hours. The second one goes twice as fast.
Step 1: Measure and clean. Do not just measure the door. Measure every panel opening by itself, because the sizes change across a single door. Guess here and you will be cutting the same panel twice. Jot each size down as you go. Then give the inside face a wipe, so the clips and adhesive have something clean to grip. And while you are down there, check the bottom seal and the weatherstripping. If they are cracked or missing, swap them now. Roughly $150 in parts. A brand-new insulation kit on a door that still leaks air at the bottom? That is half a job, and you will feel the draft all winter.
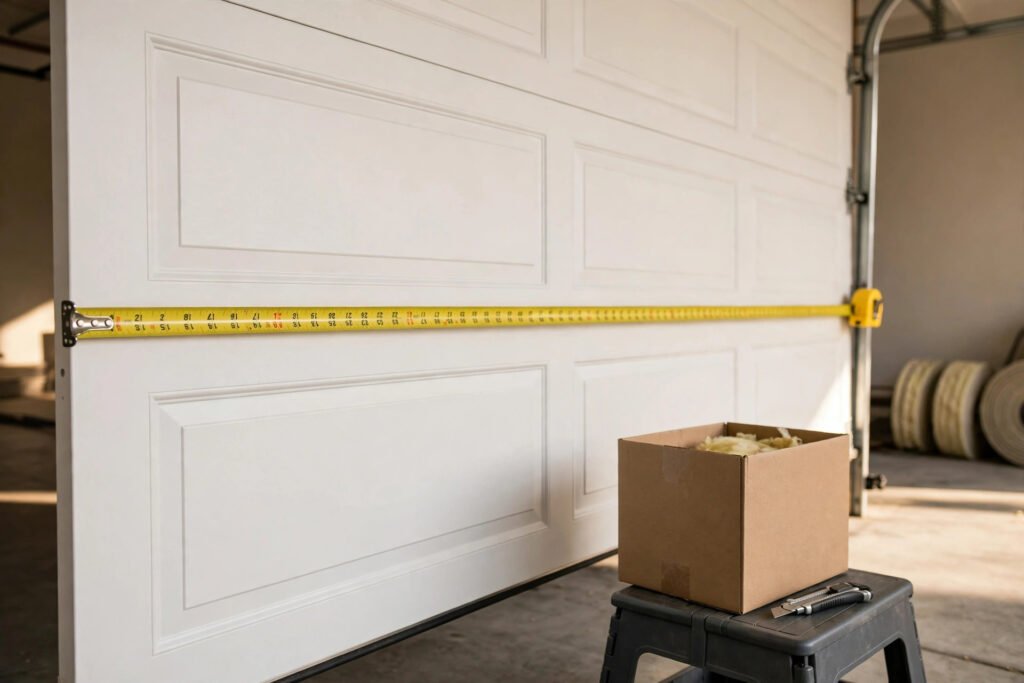
Step 2: Cut the panels. Lay a panel over its opening, mark it, then cut it a quarter inch short all the way round. That small gap matters. It is what lets the panel sit flat instead of bowing out of the frame. A utility knife handles fiberglass, a fine saw handles foam board. And with fiberglass, gloves and glasses on. No shortcuts. That stuff itches for hours if it gets on your skin.
Step 3: Fit the panels. On a metal door the panels drop into the recessed sections between the horizontal rails. Push each one in and fix it with the kit’s retention clips. A wood door works the same way, only the surface is less even, so check that each panel sits flat and trim the spots where it rocks. Start at the bottom row and work up. That way each panel rests on the one below it while you fix it in place.
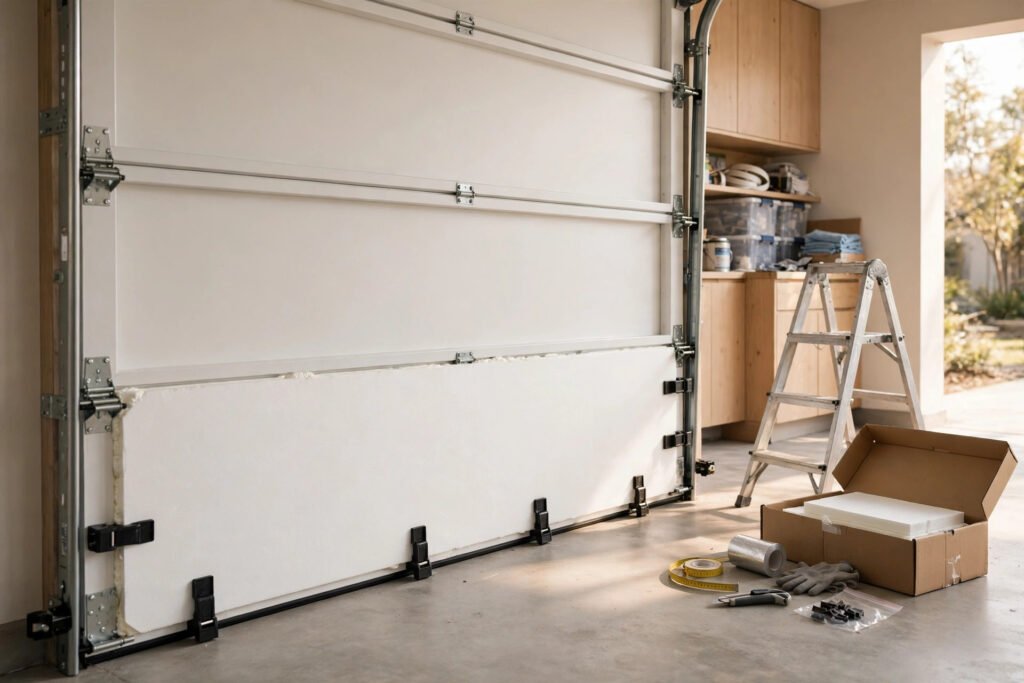
Step 4: Seal the edges. Run a bead of sealant or foam tape around the panel edges where there is a gap. This is the part people skip, and it is the part that stops drafts. See the sealing section below for every place air gets in.
Step 5: Test the door. Open and close it slowly by hand first. The door is now heavier, so the opener may need its force setting adjusted. Check your opener’s manual for that. If the door feels much heavier or does not balance halfway up, call a technician to adjust the springs. Do not adjust springs yourself.
HOW TO INSULATE A GARAGE DOOR WITHOUT A KIT
Not every door has neat panel sections to fill, and not everyone wants to buy a kit. There are honest ways to do the job without one.
Foam board, cut to fit, is the closest substitute for a kit. Buy rigid foam board from a home store, measure each section, cut, and hold the boards in place with construction adhesive or foil tape. It costs less than a kit and performs about the same, but you do the measuring and cutting yourself.
If the door has no frame at all, a flat slab with nothing to hold a panel, use adhesive-backed reflective foil or a roll of bubble-foil insulation, stuck directly to the inside face. It will not reach the R-value of a foam kit, but it cuts the radiant heat in summer and takes the edge off winter cold, and it is the cheapest option of all.
If the door has no channels, do not force clips into it. Clips need a channel to grip. Use adhesive, or foil tape around the panel edges, instead. And if you cannot take anything apart, remember the whole job is done from inside with the door in place. Nothing needs removing.
A temporary fix, for one winter, is a heavy moving blanket hung on the inside face, or a roll of reflective foil taped up for the season. It is not as good as a fitted kit, but it is better than a bare door, and it costs almost nothing.
INSULATION BY DOOR TYPE
Steel and metal doors are the same job: the panels fit into the recessed sections, clips hold them, and the steps above apply as written.
Sectional doors, the common kind made of hinged horizontal sections, take a kit panel by panel, one section at a time.
Roll-up doors have narrow slats, so a full kit does not fit. Use thin reflective foil, or foam cut into narrow strips, and check the door still rolls freely.
Tilt-up doors swing out as one piece, so fit light panels and keep the weight even, or the door will feel unbalanced. Up-and-over doors are the same idea as tilt-up.
Roller doors are like roll-up doors: thin material only, nothing thick.
Sliding doors, single doors, and standard doors all follow the same steps, with the panel sizes changed to match.
Commercial doors are bigger and heavier. Measure carefully, expect to need two kits, and get help lifting panels.
Two-car doors need two single kits, or the one two-car kit named in the comparison above.
Electric doors are unchanged by the job except that the opener may need its force adjusted for the extra weight.
Hurricane-rated doors should not be modified in a way that changes their rating. Check the manufacturer’s guidance before adding anything.
A door that is already insulated does not need this job. Check first; the FAQ below shows how.
WINTER VS SUMMER
Winter is the reason most people do this job, and November is the right time to do it. Fit the kit before the first freeze, and check the bottom seal at the same time. In winter the aim is to keep heat in. A fiberglass or foam kit, R-8 if you can get it, does that best. The garage will not become warm on its own. It will just lose heat more slowly, which is enough for a workshop, a gym, or stored paint and tools that should not freeze.
Summer is the other half of the job, and it is the half people forget until July. In summer the aim is to keep the heat out, and the sun on a south-facing door is the main problem. A reflective barrier does that best, because it bounces the sun’s heat away instead of soaking it up. If your garage is a furnace in summer, fit the reflective kit, or fit foam and add a reflective layer on the sun-facing side.
For hot-climate homes, Florida is the clearest example, summer is the main season, not winter. A reflective kit, plus sealing the gaps, is the right spend there, and a heavy winter kit is money spent on a problem the house does not have.
SEAL THE GAPS AROUND THE DOOR
Insulation slows heat through the door. Sealing stops air going around it. A door with good panels and bad seals still feels drafty, so do both jobs on the same day.
Work through the parts in order. The bottom seal is first: it takes the most wear, and a worn one leaves a visible gap. Then the sides, where the door meets the frame. Then the header, the beam across the top, where warm air escapes. Then the edges of each panel, the hinges, and the tracks. Anywhere two parts meet, air finds a way through. Check the frame itself, and the wall around it, for cracks, and seal those too. The back of the door, the inside face you have been working on, should be sealed at the panel edges, as in the step-by-step above.
The product to buy for this is a garage door seal kit: a rubber bottom seal and weatherstripping for the sides and top. It is a separate purchase from the insulation kit, it is cheap, and it is the single most effective draft fix in the whole job.
FREQUENTLY ASKED QUESTIONS
Does insulating a garage door make a difference?
Yes. The garage holds its temperature better in both seasons. It will not feel like a heated room, but the swing between hot and cold gets smaller, and that smaller swing is exactly what you notice.
Can a non-insulated garage door be insulated?
Yes. Almost every standard steel or wood door can take a kit or foam board. The only doors to check first are roll-up doors, which need thin material, and hurricane-rated doors, which should not be changed without the manufacturer’s say-so.
Can a garage door be fully insulated?
No, not in the sense of a house wall. The door has moving parts, gaps, and seals, so some heat will always move through it. A good kit gets you most of the benefit. Chasing the last few percent costs far more than it is worth.
Can you insulate a garage door?
Yes, and it is a normal DIY job. One kit, two to three hours, no special tools beyond a knife, a tape measure, and a ladder.
Is it possible to insulate a garage door?
Yes. The whole job is done from inside, with the door closed and in place. Nothing needs to be taken apart.
How effective is insulating a garage door?
It slows heat loss in winter and heat gain in summer by a useful amount. How much depends on two things: the kit’s R-value, and how well you sealed the gaps. A sealed R-8 door feels noticeably different from a bare one. An unsealed one, much less so.
How hard is it to insulate a garage door?
Not very, honestly. The measuring and the cutting eat most of the afternoon. The fitting part is the easy bit, just pushing panels in and fixing the clips. First door? Keep a full afternoon free. You will finish with time to spare, and probably wonder why you put it off so long.
How easy is it to insulate a garage door?
Easier than most people expect. With a kit, there is not much to it. The Matador kit does not even need tools. Getting the panel sizes right is the only part that takes care.
How much insulation should a garage door have?
Aim for R-8 in cold climates, R-6 to R-8 in mixed climates, and R-4 to R-6 or a reflective barrier in hot climates. More than that is rarely worth the extra cost for a garage.
How to tell if a garage door is insulated?
Knock on the inside face. A hollow, ringing sound means it is bare steel. A dull thud means there is already a layer inside. Look at the edges, too: factory-insulated doors usually show a foam or panel layer at the edge.
How to temporarily insulate a garage door?
Hang a heavy moving blanket on the inside face for the winter, or tape up reflective foil for the season. Both help, both come down in spring, and neither is a substitute for a fitted kit.
How to sound insulate a garage door?
Insulation helps a little with sound, because the panels add mass and cut echo. It is not soundproofing. If the garage is a music room, you need a separate sound treatment, not a door kit.
THE BOTTOM LINE
Insulating a garage door is one of the best-value DIY jobs in the house. One kit, one afternoon, and a garage that stays warmer in winter and cooler in summer for years. Measure first, pick the kit for your climate, seal the gaps on the same day, and test the door before you call it done.
Once the door is insulated, the next job is organising what is inside the garage. That is our next guide: garage storage ideas.