
Garage Organization Ideas on a Budget: A System That Sticks
These garage organization ideas start with a hard truth: a garage does not get messy because you own too much stuff. It gets messy because nothing has a marked home. The drill lives wherever you last put it down. The holiday bins sit where the car should go. The workbench is buried under things that belong somewhere else entirely. Fix the homes, and the mess mostly fixes itself.
If you have ever typed how to organize garage into Google and closed the tab feeling overwhelmed, this is the guide that actually finishes the job. It builds a budget-first system in one weekend. Sort everything, zone the space, store what is left, label it, and keep it that way with a 15-minute monthly reset. No full makeover. No $1,500 cabinet wall. Just a system that still works six months from now, which is the part most garage projects get wrong.
THE BUDGET SYSTEM: FOUR MOVES, IN ORDER
Organisation is four moves, and the order matters more than the shopping. Sort first. Zone second. Store third. Maintain fourth. Skip the sort and you buy storage for clutter you should have thrown away. Skip the zones and every shelf becomes a junk drawer. Skip the labels and the system dies the first time someone else puts something away.
Here is what the four moves cost. Sorting costs nothing but a Saturday. Zoning costs nothing at all — it is a decision, not a purchase. Storage is where the money goes, and you control how much: a starter kit runs about $115 to $255. Labels cost about $5 if you use masking tape and a marker, or $25 to $35 for a label maker. The monthly reset costs 15 minutes. That is the whole system. If a garage organisation guide starts by telling you to buy cabinets, it is selling you something, not organising you.
STEP 1: EMPTY AND SORT (SATURDAY MORNING)
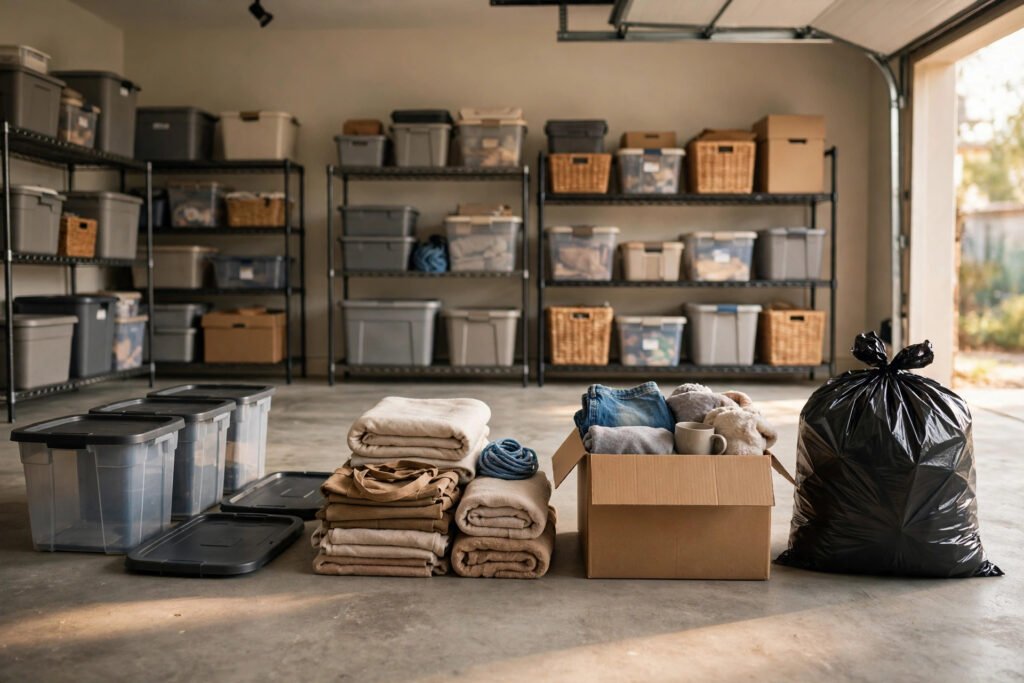
Do not buy anything yet. Pick a Saturday, pull everything out of one section at a time, and sort it into three piles. Keep. Donate. Throw away. Work in sections, not the whole garage at once — one wall, or one half, so you can still park a car that night.
Be straight with yourself about the third pile. The paint cans from three houses ago. The broken weed trimmer. The bike nobody has ridden in two years. The box of cables for devices you no longer own. Here is the rule that makes the sort work: if you have not used it in a year and it costs less than $20 to replace, it goes. You are not losing it. You are buying back the floor it was sitting on.
Bag the donations the same day and drop them off the same weekend. This is the part people skip, and it is the reason their sort fails. Donation bags that sit in the garage for three weeks just become a new pile. The trash goes out that night. What is left is the stuff that is actually worth storing, and it is usually about a third less than what you started with.
STEP 2: ZONE IT (SATURDAY AFTERNOON)
Now decide what goes where, before a single shelf goes up. A garage has four zones. The ceiling is for the stuff you touch four to six times a year: holiday decorations, camping gear, seasonal bins. The upper wall, above 48 inches, takes the weekly stuff: hand tools, garden gear, sports equipment. The lower wall, below 48 inches, takes cabinets and drawers: chemicals, small parts, anything you would rather keep behind a door. And the floor? Cars. Whatever project is in progress. Nothing else gets to live down there.
Mark the zones before you fill them. Painter’s tape on the floor for the parking spots. A strip of tape on the wall where the upper zone starts. It sounds fussy, and it takes ten minutes, but it stops the slow drift. Without marked zones, the seasonal bins creep down to the floor within a month, and the floor is where the whole mess starts again.
If you want the storage side of this in detail — which racks, which shelves, what goes overhead — our garage storage ideas guide covers it with real prices and sizes. This article is the system. That one is the shopping list.
STEP 3: STORAGE THAT FITS THE BUDGET
Start with what you already own. Empty boxes, old bookshelves, the plastic bins from the last move. Most garages already have half the storage they need sitting in a corner, just holding the wrong things. Empty them, clean them, and give them a real job before you spend a dollar.
Then buy in this order, cheapest first. Clear bins, about $25 to $45 for a 6-pack, because you can see what is inside without opening them. One steel or wire shelving unit, about $60 to $150, for the bin wall. A 4 by 4 pegboard with hooks, about $30 to $60, for the tool wall. That is the starter kit: about $115 to $255, and it fixes most garages outright. Buy the next piece only after living with it for a month. By then you will know exactly what is missing, and you will stop buying the wrong thing twice.
One rule for all of it: buy storage for the stuff you kept, not the stuff you wish you owned. The cabinet wall can wait. The slatwall can wait. A sorted garage with a $150 shelf looks better than a cluttered garage with $1,500 of cabinets, and it works better too.
TOOL ORGANIZATION: THE WALL THAT PAYS FOR ITSELF
Tools are where garages go to die, because a tool without a home ends up on the workbench, and a workbench full of tools is not a workbench anymore. Give the tools a wall and the bench stays clear.
A pegboard is the cheapest tool wall that works. A 4 by 4 sheet with hooks runs about $30 to $60, and it holds hand tools, garden tools, tape measures, levels, the lot. Hang it at eye level above the workbench so the tool you need is one reach away. Slatwall costs more, about $100 to $300 for a 4 by 8 section, and it holds heavier things. Start with pegboard. Upgrade when the pegboard is full and you can say exactly what the slatwall would hold that the pegboard cannot.
Trace each tool with a marker on the board. It takes an evening, and it is the single best trick in this whole guide. A traced outline shows you, at a glance, which tool is missing — and it shows everyone else in the house exactly where the tool goes back. Small parts go in clear jars or a parts bin on the shelf below the board, labeled by what is inside: screws, wall anchors, drill bits. Not “miscellaneous”. Nothing labeled “miscellaneous” ever gets found again.

BIKES, SPORTS GEAR AND THE 2-CAR GARAGE
Two-car garage organization ideas come down to one question: can both cars park inside, with room to open the doors? Everything else follows from that. Mark both parking spots with tape. Keep a clear path down the middle, about 3 feet wide, from the house door to the garage door. Nothing lives in that path. Not the bins, not the bikes, not the lawn mower.
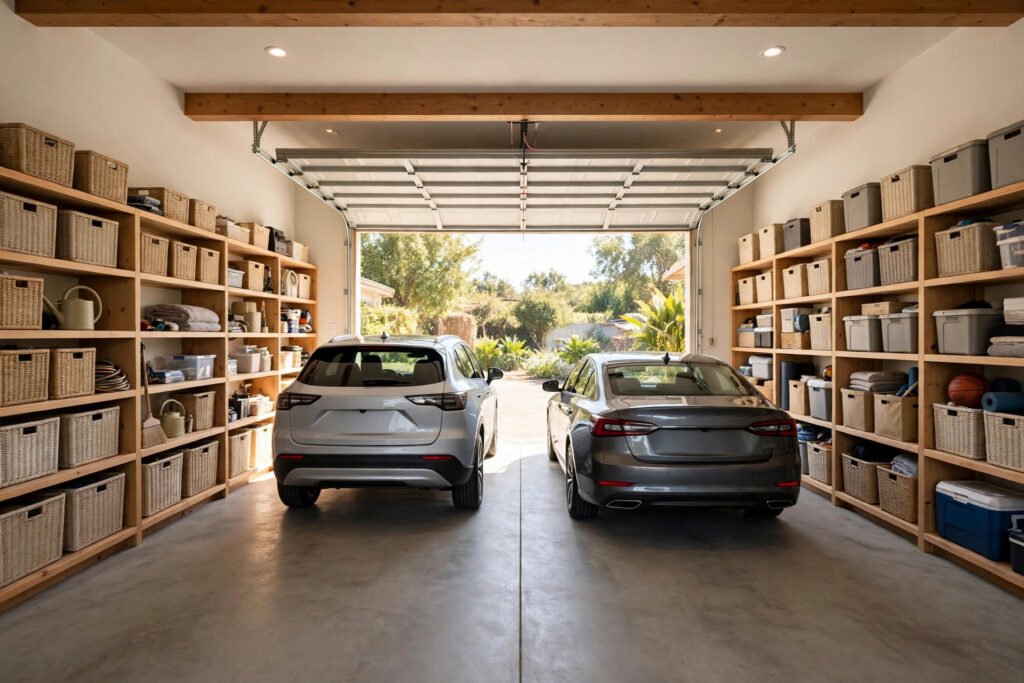
Bikes go on the wall, flat, on hooks, one wheel up. Two bikes on a track take about four feet of wall and cost next to nothing. Sports gear goes in a tall bin or a wall basket right by the door the kids actually use. Skis and fishing rods go high on the wall, flat on two hooks. The test is the same as everywhere else in this system: if a kid can grab it and put it back without asking for help, it is stored right. If it lands on the floor every single time, it is stored wrong.

What about the second car when the garage is also a workshop? Give the workshop one wall and one bench, and defend it. The other walls belong to parking and storage. A garage that tries to be a full workshop and a two-car garage at once ends up being neither.
LABELS THAT STICK
A system without labels lasts about a week. Someone puts the camping gear in the sports bin, the sports bin ends up in the wrong zone, and within a month the labels are the only thing standing between you and the old mess.
The cheap way works fine: masking tape and a thick marker, about $5 total. Write big, in plain words. “CHRISTMAS LIGHTS”, not “HOLIDAY”. “CAMPING”, not “OUTDOOR”. The words should make sense to anyone in the house, not just you. Label every bin on two sides, so the label is visible whichever way the bin faces on the shelf.
A label maker, about $20 to $50 for a basic Brother P-Touch, is worth it if you have more than twenty bins. The labels survive dust and heat better than tape, and they look like you meant it. Either way, the rule is the same: if you have to open a bin to know what is in it, the label failed.

KEEP IT ORGANIZED: THE 15-MINUTE MONTHLY RESET
Here is the part nobody wants to hear: organisation is not a project, it is a habit. The system works for exactly as long as someone maintains it, and maintenance takes 15 minutes a month. Put it on the calendar. First Saturday of the month, 15 minutes, same as taking the bins out.
The reset has three moves. Walk the zones and put back anything that drifted — the bin that migrated to the floor, the tool left on the bench. Check the labels: anything unlabeled gets a label on the spot. And pull one thing out to donate or throw away. Just one. A garage that loses one thing a month never fills up again, and a garage that gains one thing a month is a mess by Christmas.
Add one rule on top of the reset and the system holds for years: one in, one out. A new tool comes in, an old one goes out. New sports gear arrives, something gets donated. It sounds strict, and it is — that is why it works.
WHAT IT COSTS
Sorting costs nothing. Zoning costs nothing. The starter kit — bins, one shelving unit, pegboard with hooks — runs about $115 to $255. Labels run about $5 with tape and a marker, or $20 to $50 with a label maker. A full wall-and-ceiling system, if you go that far, runs roughly $500 to $1,500.
The honest advice is to start at the bottom and climb only when the garage tells you to. Sort on Saturday for free. Live with the starter kit for a month. Then buy the next piece with the money you would have wasted on the wrong piece first.
FREQUENTLY ASKED QUESTIONS
How do I organize my garage on a budget?
Start with the sort, which costs nothing. Empty one section at a time, keep only what you use, and use bins and a pegboard you may already own. A starter kit of bins, one shelving unit and a pegboard runs about $115 to $255, and that fixes most garages.
Where do I start organizing my garage?
Start with one wall, not the whole garage. Empty it, sort it into keep, donate and throw away, then zone it before you buy anything. One finished wall beats three half-finished ones, and it shows you the system works.
How do I organize my garage tools?
Give them a wall. A pegboard with hooks above the workbench holds hand tools where you can see them, and tracing each tool’s outline on the board shows where it goes back. Small parts go in labeled clear jars on the shelf below.
How do I keep my garage organized?
Give everything a marked home, label every bin on two sides, and run a 15-minute reset on the first Saturday of every month. The reset is the whole secret. Without it, any system slides back to piles in six months.
How do I organize a 2-car garage?
Mark both parking spots with tape, keep a clear 3-foot path down the middle, and give the workshop one wall only. Bikes go on wall hooks, seasonal things go overhead, and nothing lives on the floor except the cars.
How much does it cost to organize a garage?
Sorting and zoning cost nothing. A starter kit runs about $115 to $255. A full wall-and-ceiling system runs roughly $500 to $1,500. Start with the starter kit and add the next piece only after a month of living with it.
What is the best way to label garage bins?
Masking tape and a thick marker work fine and cost about $5. Label every bin on two sides, in plain words anyone in the house understands. A label maker at $20 to $50 is worth it past twenty bins.
How do I organize a small garage?
The same system, pushed harder. Own fewer things, give each one a marked home, and use the walls and ceiling because there is no floor to spare. A small garage punishes clutter faster than a big one, so the sort matters more than the shopping.
Should I buy cabinets or shelves first?
Shelves first. Open shelving is cheaper, faster, and you can see what is on it. Cabinets come later, for chemicals, automotive supplies, power tools you want locked away, and anything you want to keep dust off.
How long does it take to organize a garage?
A single-car garage takes one weekend: Saturday to sort and zone, Sunday to store and label. A two-car garage takes a full weekend plus a few evenings. The monthly reset after that takes 15 minutes.
THE BOTTOM LINE
A garage gets organized by a system, not by shopping. Sort first, zone second, store third, label fourth, and reset for 15 minutes once a month. Start free on Saturday, add the $115 to $255 starter kit, and only then buy the next piece. By then you will know exactly what is missing.
Once the system is in place, the storage itself is the next job. Our garage storage ideas guide covers the racks, shelves and cabinets with real prices and sizes, so the system has something solid to sit on.


4 Comments