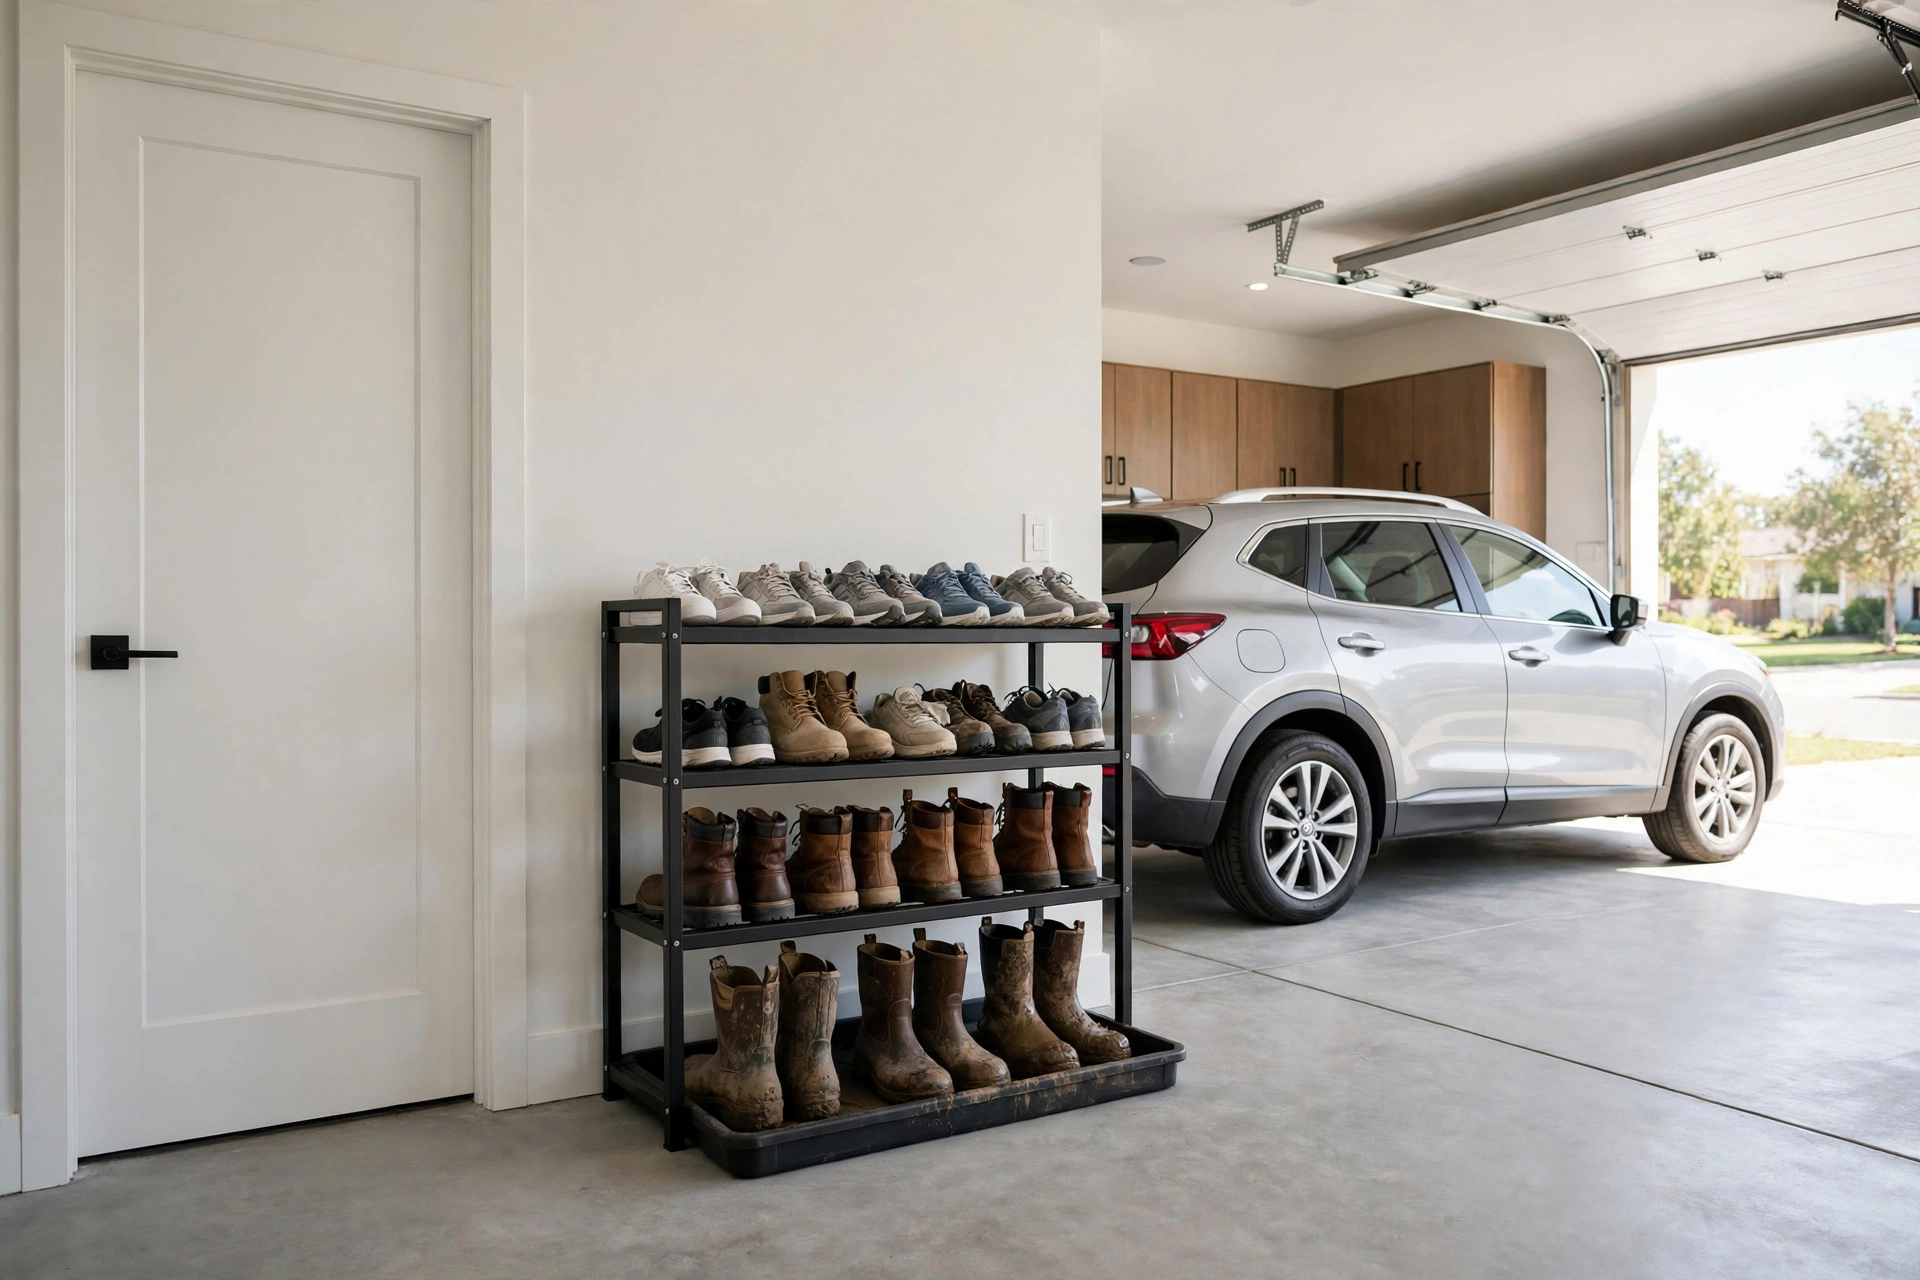
Garage Shoe Storage: 7 Ways to End the Pile by the Door
Garage shoe storage is the job nobody plans and everybody needs, because the pile by the door grows one pair at a time until you are tripping over it in the dark. Work boots, kids’ sneakers, muddy cleats, winter boots, sandals, the pair you only wear to mow the lawn — they all end up on the garage floor, and the floor is the worst place for them. They get wet, they get dusty, they get run over, and they smell.
This guide covers the seven ways that actually work, from a $10 rack to a full wall system, with real prices, small-garage layouts, and the rules for boots and wet shoes. By the end you will know which option fits your wall, your pair count, and your budget — and how to keep the pile from coming back.
WHY SHOES TAKE OVER THE GARAGE
Count the pairs before you buy anything. A family of four owns 20 to 40 pairs without trying: two everyday pairs each, work boots, sports cleats, winter boots, rain boots, sandals, and the old pair kept for yard work. The garage collects them because it is the door everybody uses, and nobody carries shoes back inside.
The pile also grows because shoes have no home. Everything else in the garage has a place — tools on the pegboard, bikes on the wall, bins on the shelves — but shoes get dropped where you take them off. The fix is the same as the rest of the garage: give every pair a slot, and put the slots where the shoes come off.
Start with a count and a cull. Line up every pair, throw out the ones with holes, the ones nobody has worn in a year, and the single shoes with no match. Most families drop a third of the pile in ten minutes. What is left is the real number your storage has to hold — usually 12 to 20 pairs for a family, 6 to 10 for a couple.
THE 7 WAYS, COMPARED
1. Freestanding shoe racks
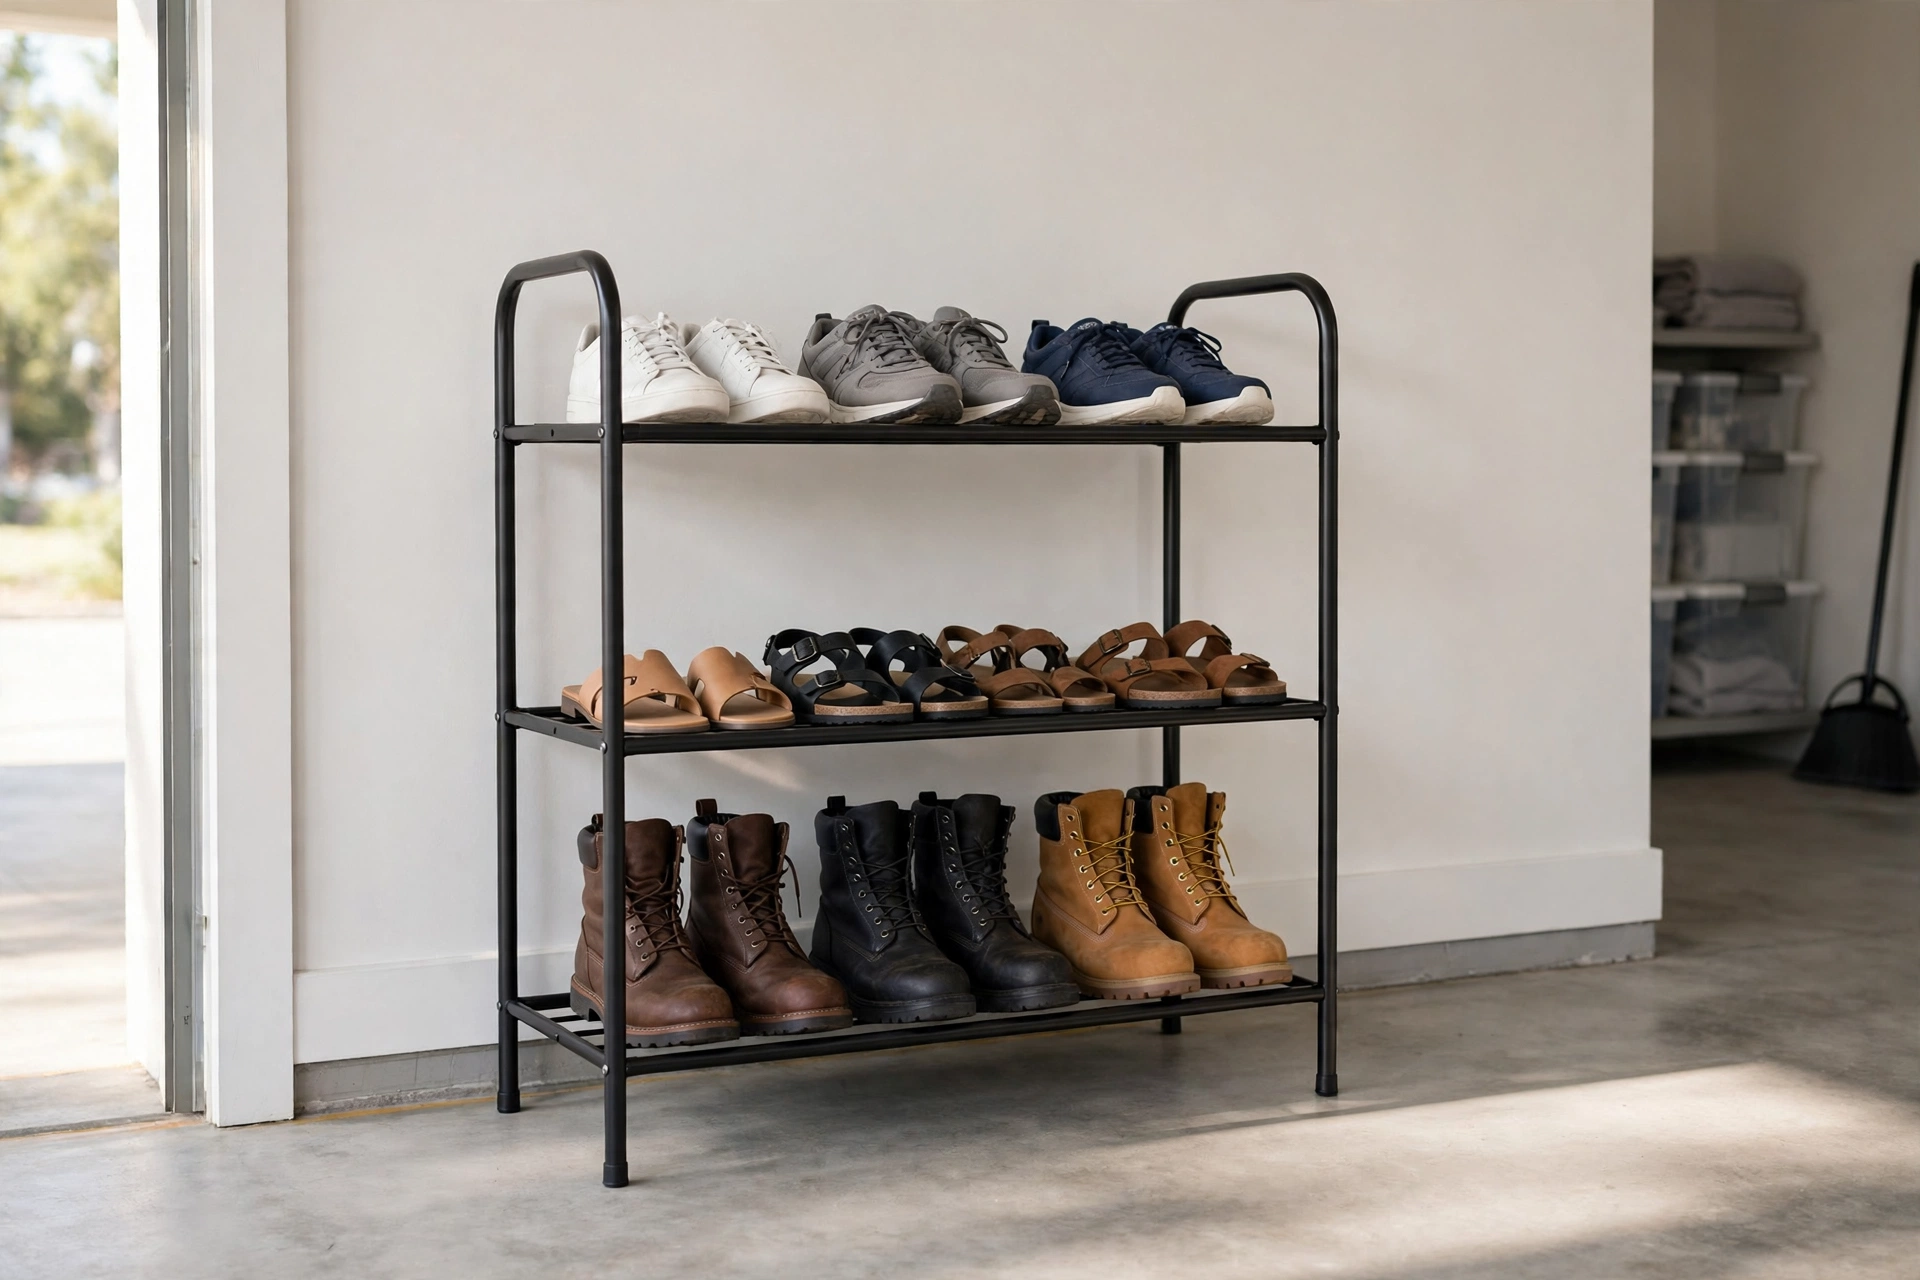
The cheapest fix, and the right one for most garages. A 3-tier metal rack holds 12 to 20 pairs, costs about $10 to $20 — the SONGMICS 3-tier runs about $14, the Kitsure about $10, the LANTEFUL 3-tier about $17 — and sets up in ten minutes with no tools. A tall 10-tier rack holds 30 or more pairs for about $20, and a 12-tier heavy-duty rack holds up to 76 pairs for about $140.
Racks work best against the wall by the door into the house, where you take them off. Keep one tier per person if you can — a labelled tier each stops the pile from mixing into one heap. The weakness is the floor: a rack still sits on the floor, and a rack on the floor collects the dust and the mud underneath it. Sweep under it once a month, or the dust builds up behind the bottom tier.
2. Wall-mounted slanted racks
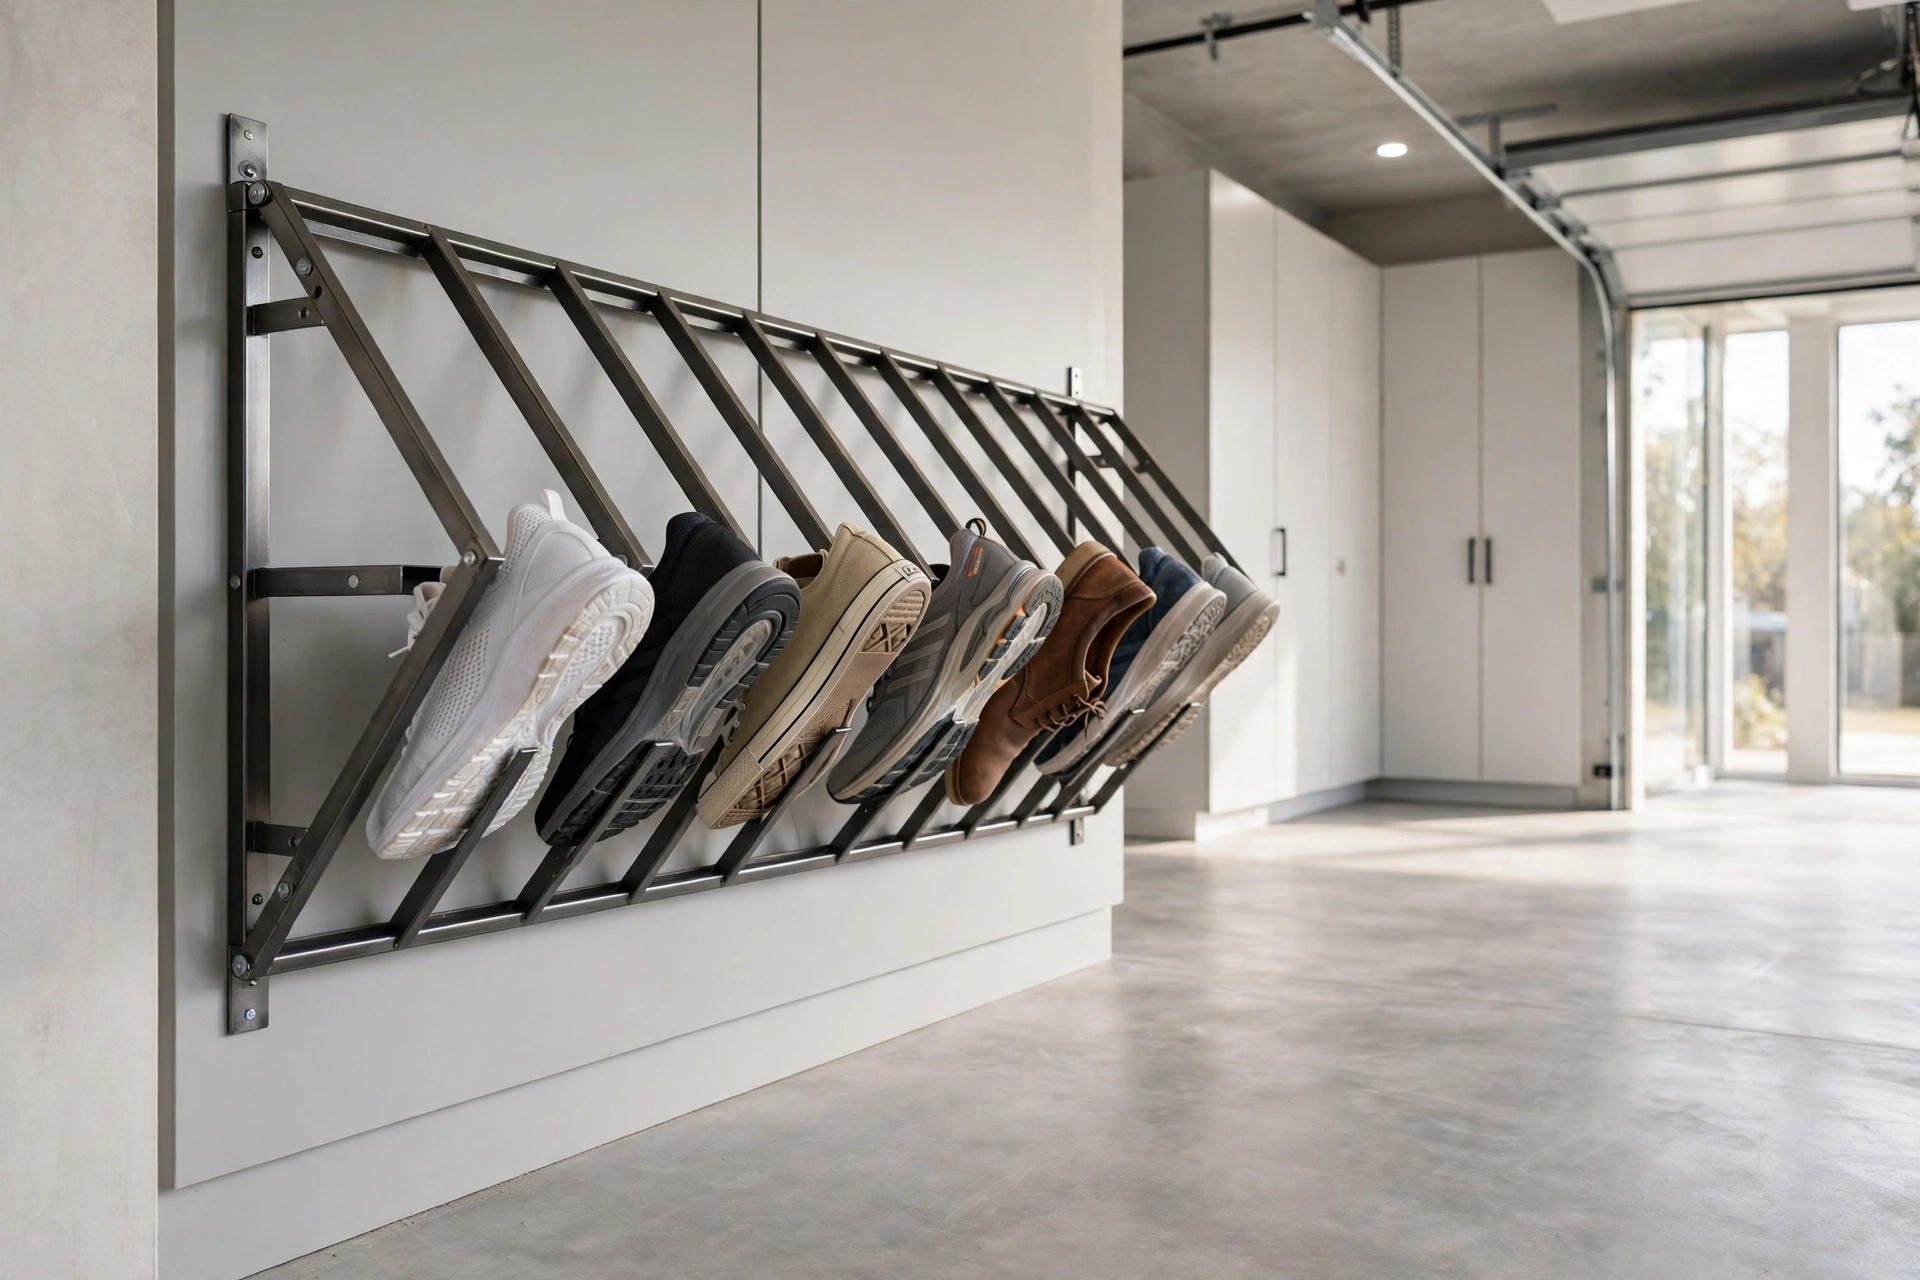
The floor stays clear, and that is the whole point. A slanted wall rack holds shoes toe-down so they do not slide off, and the floor underneath sweeps in thirty seconds. A 9-pair wall-mounted shoe and boot rack runs about $68, an 18-pair about $100, and both mount into studs with a drill in under an hour.
Wall racks suit narrow garages, because they stick out only 8 to 12 inches from the wall. Put them at two heights — everyday shoes at waist height, out-of-season pairs higher up — and keep the bottom 12 inches of wall empty so the broom passes underneath. Our garage shelving guide covers the stud-finding and mounting, which is the same job as a shelf bracket.
3. Boot racks and wader hangers
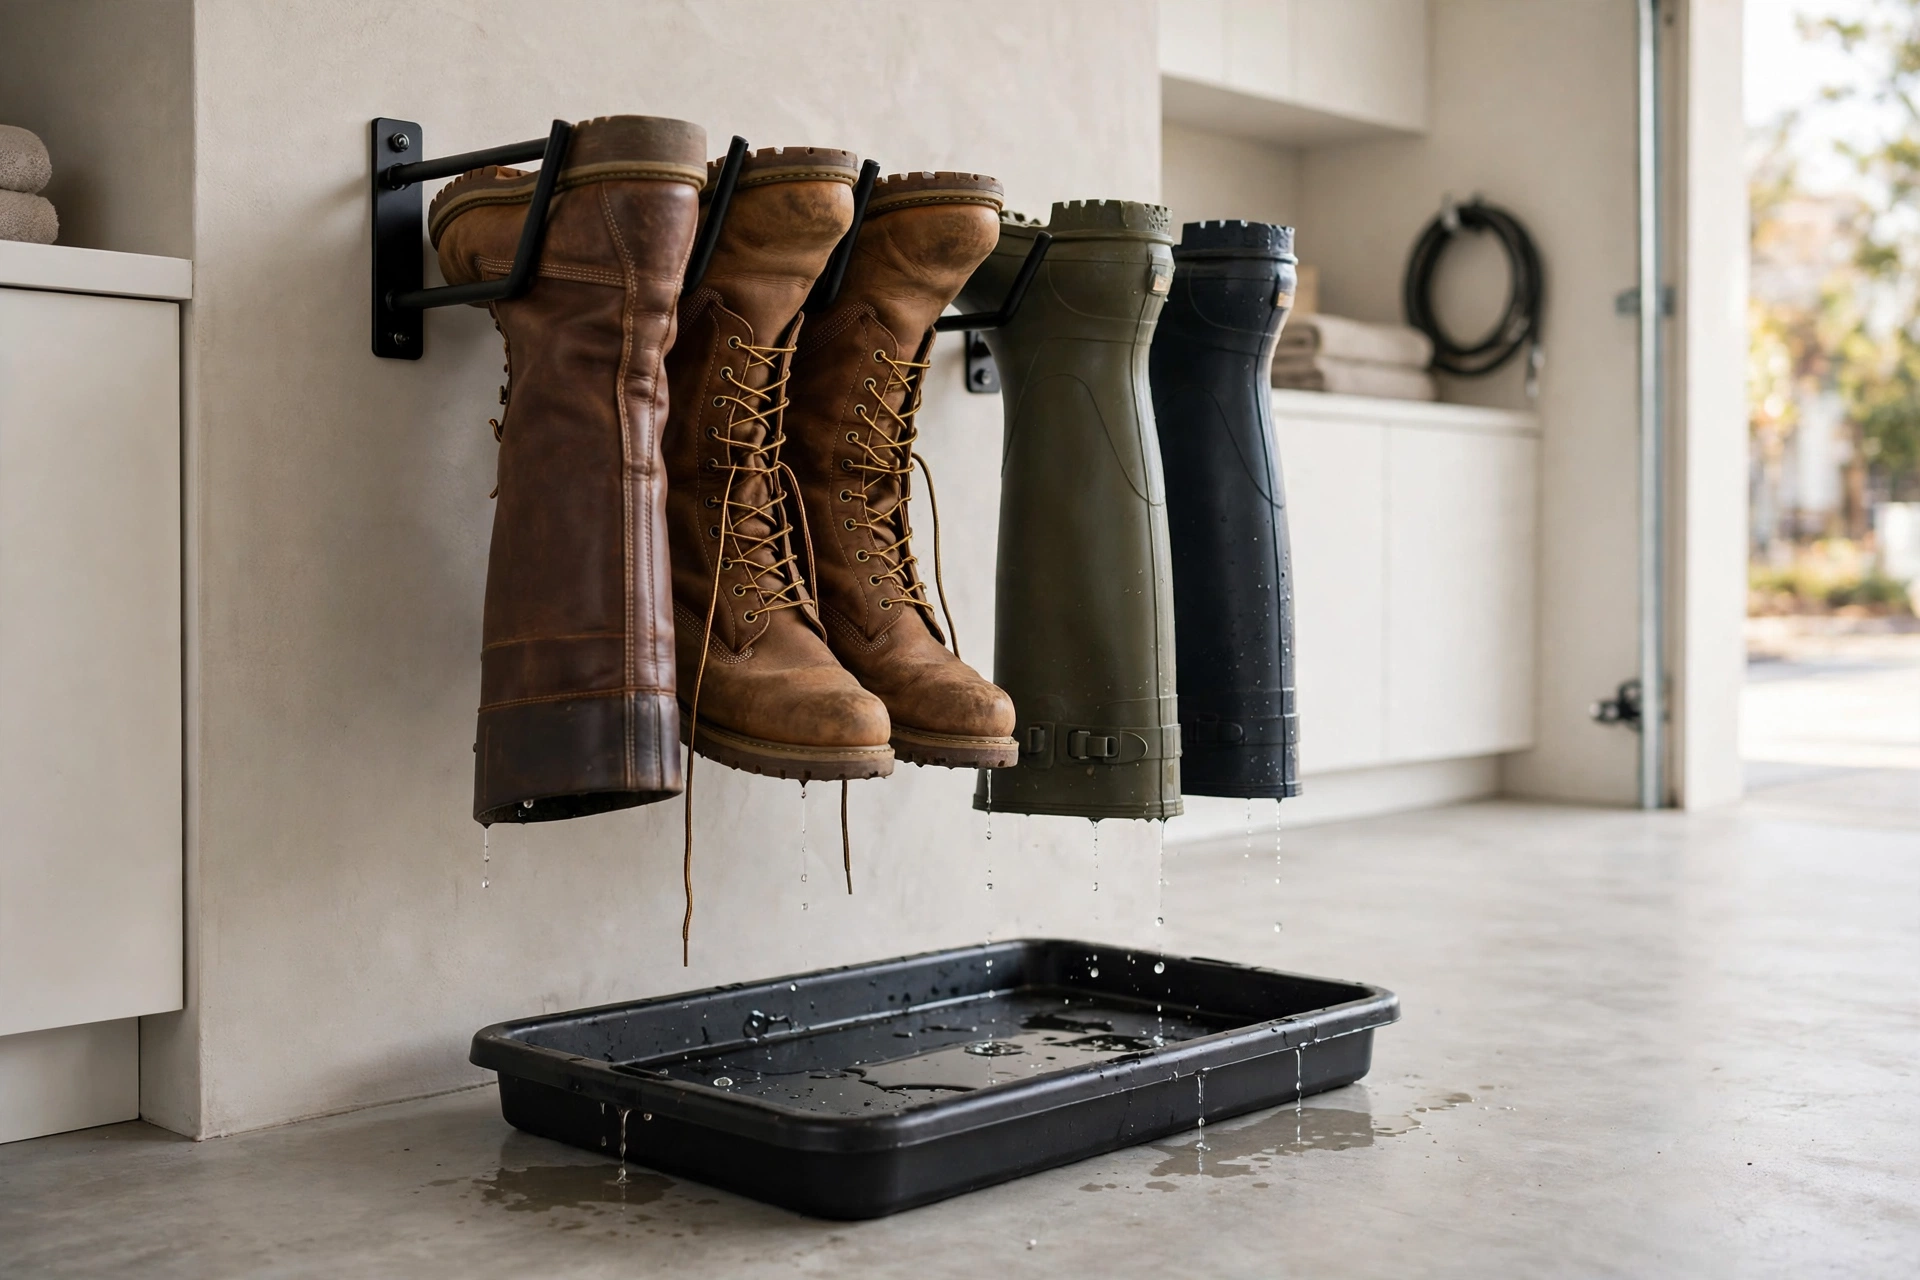
Tall boots do not belong on a rack — they flop over, crease, and trap water inside. A wall-mounted boot rack hangs them upside down by the heel, so they drain, dry, and keep their shape. A 2-pack that holds 4 pairs runs about $29, and a 4-pack that holds 8 pairs runs about $27 to $34.
Hang boots upside down and they dry in a day instead of three, and they don’t develop the smell wet boots get in a closed bin. Mount the rack near the door, at a height where the boot tops clear the floor by an inch or two, and keep a boot tray underneath for the drips. Work boots, rain boots, cowboy boots and waders all hang the same way.
4. Shoe cabinets with flip drawers
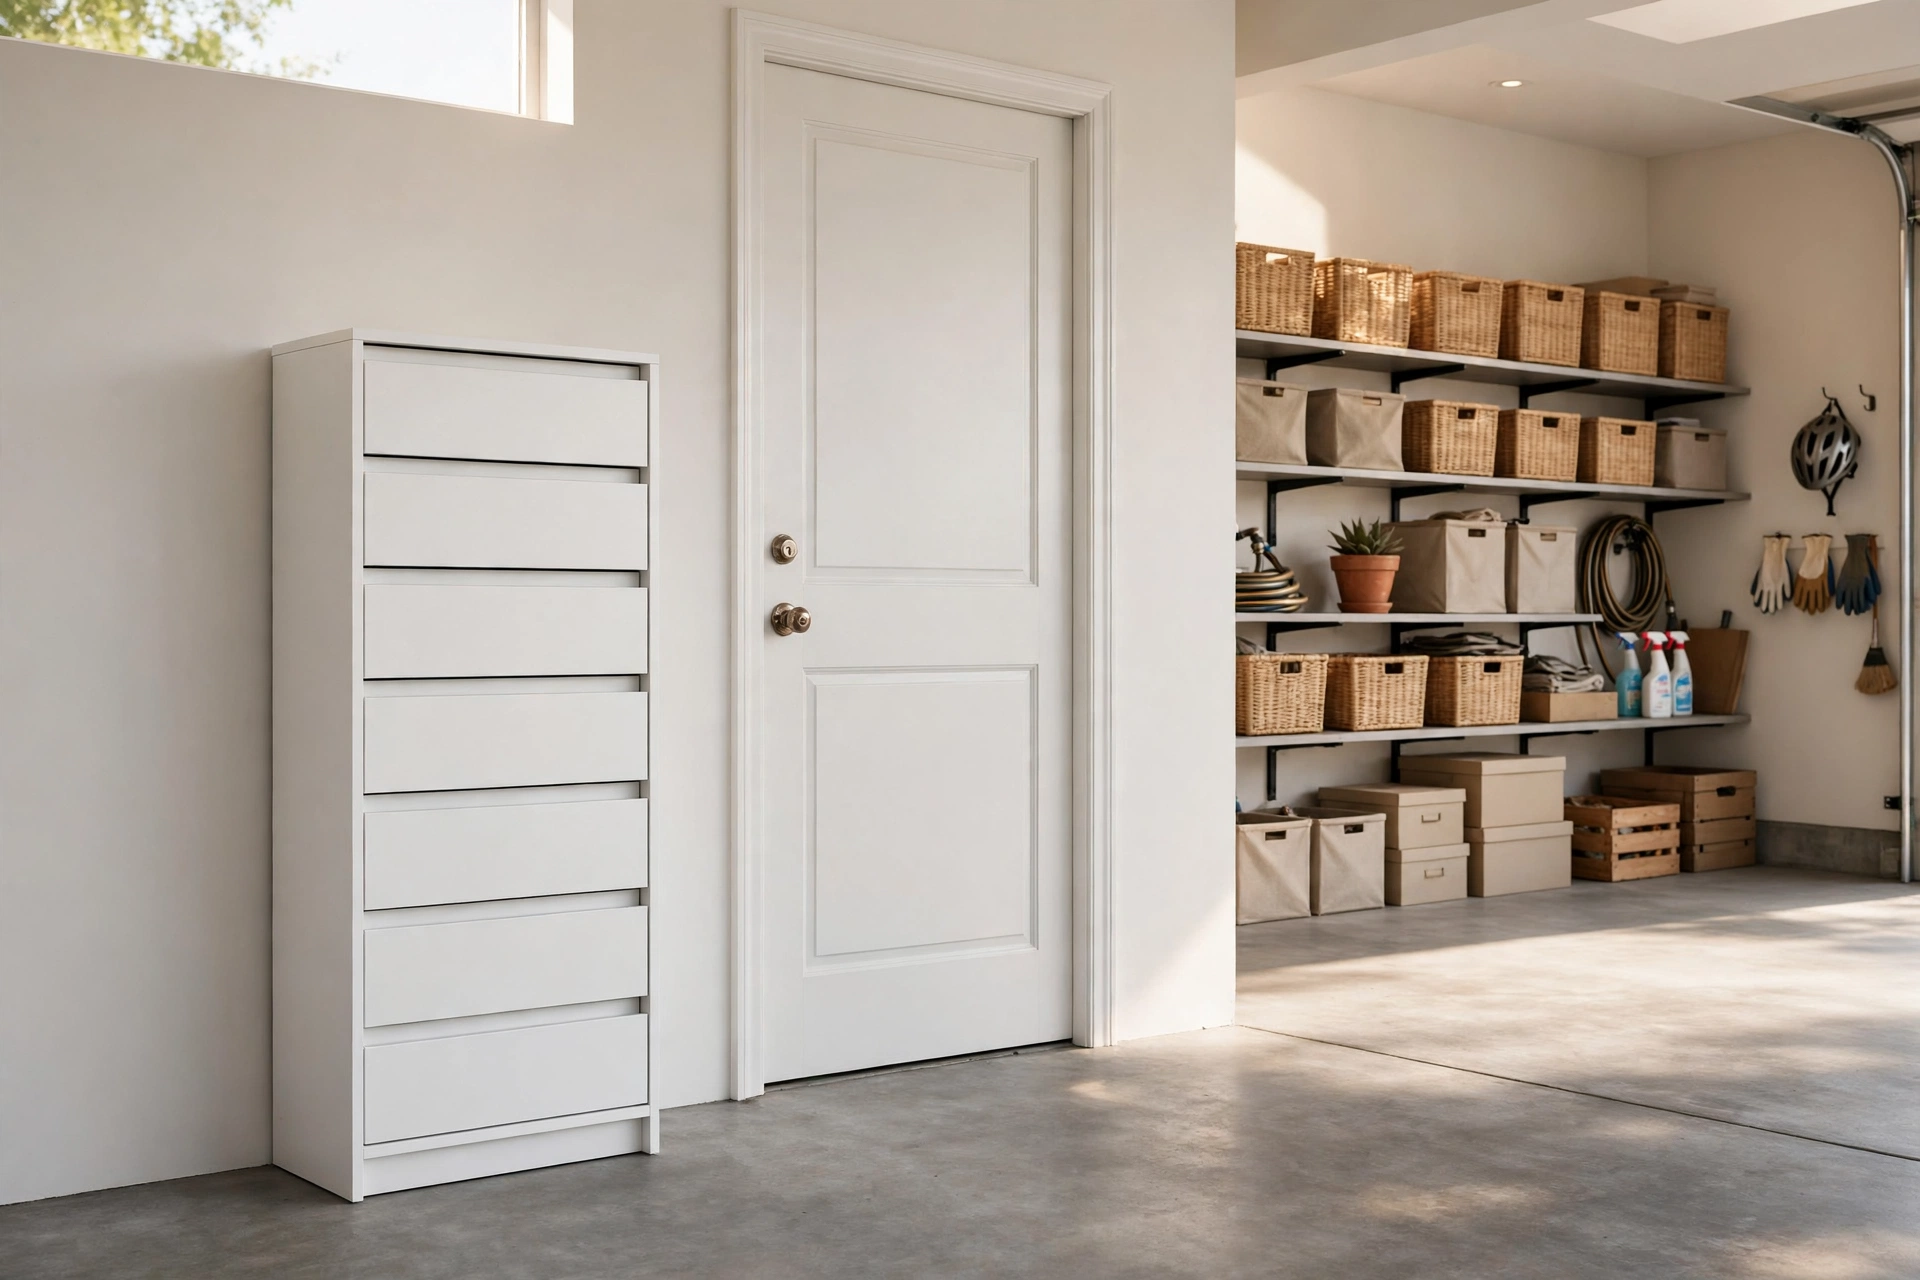
The tidy option. A slim flip-drawer cabinet hides 6 to 24 pairs behind a flat front, looks like furniture, and keeps the dust off. A small 2-drawer cabinet runs about $60, and larger 3- and 4-drawer cabinets run $100 to $200. The depth is the catch: most cabinets are 6 to 8 inches deep, so they fit flat shoes and sneakers, not tall boots or high-tops.
Cabinets suit a garage that doubles as a mudroom, where the shoes are on show every time the door opens. They do not suit wet shoes — a closed cabinet traps damp, and damp shoes in a closed cabinet smell within a week. Wet pairs go on the tray or the boot rack first, and into the cabinet only when they are dry.
5. Boot trays
A tray is not storage, it is damage control — and it is the cheapest piece of the system. A single boot tray runs about $15 to $35, and a two-tier tray that doubles the space runs about $72 to $122. The tray catches the mud, the snowmelt and the salt, so the concrete stays clean and the shoes dry on a raised ridge instead of sitting in a puddle.
Put one tray per person by the door, or one long tray for the whole family, and empty it after a wet day — a tray full of dirty water is worse than no tray at all. In winter the tray earns its keep twice over: road salt eats concrete and rusts tools, and the tray keeps both off the floor. Our garage cleaning guide covers the salt and the stains the tray prevents.
6. Rotating shoe towers
The small-footprint option. A 7-tier rotating tower holds about 35 pairs in a 2-foot circle, spins so every pair is reachable, and costs about $110. It suits a garage with no free wall — a corner by the door, or the space beside the car where a flat rack would block the door swing.
The tower works best for sneakers and flat shoes. Tall boots do not spin well, and heavy work boots make the top tiers wobble. Put the tower where it spins freely — a tower jammed against the wall is just an expensive rack — and keep the heavy pairs on the bottom tiers.
7. DIY cubbies and wall shelves
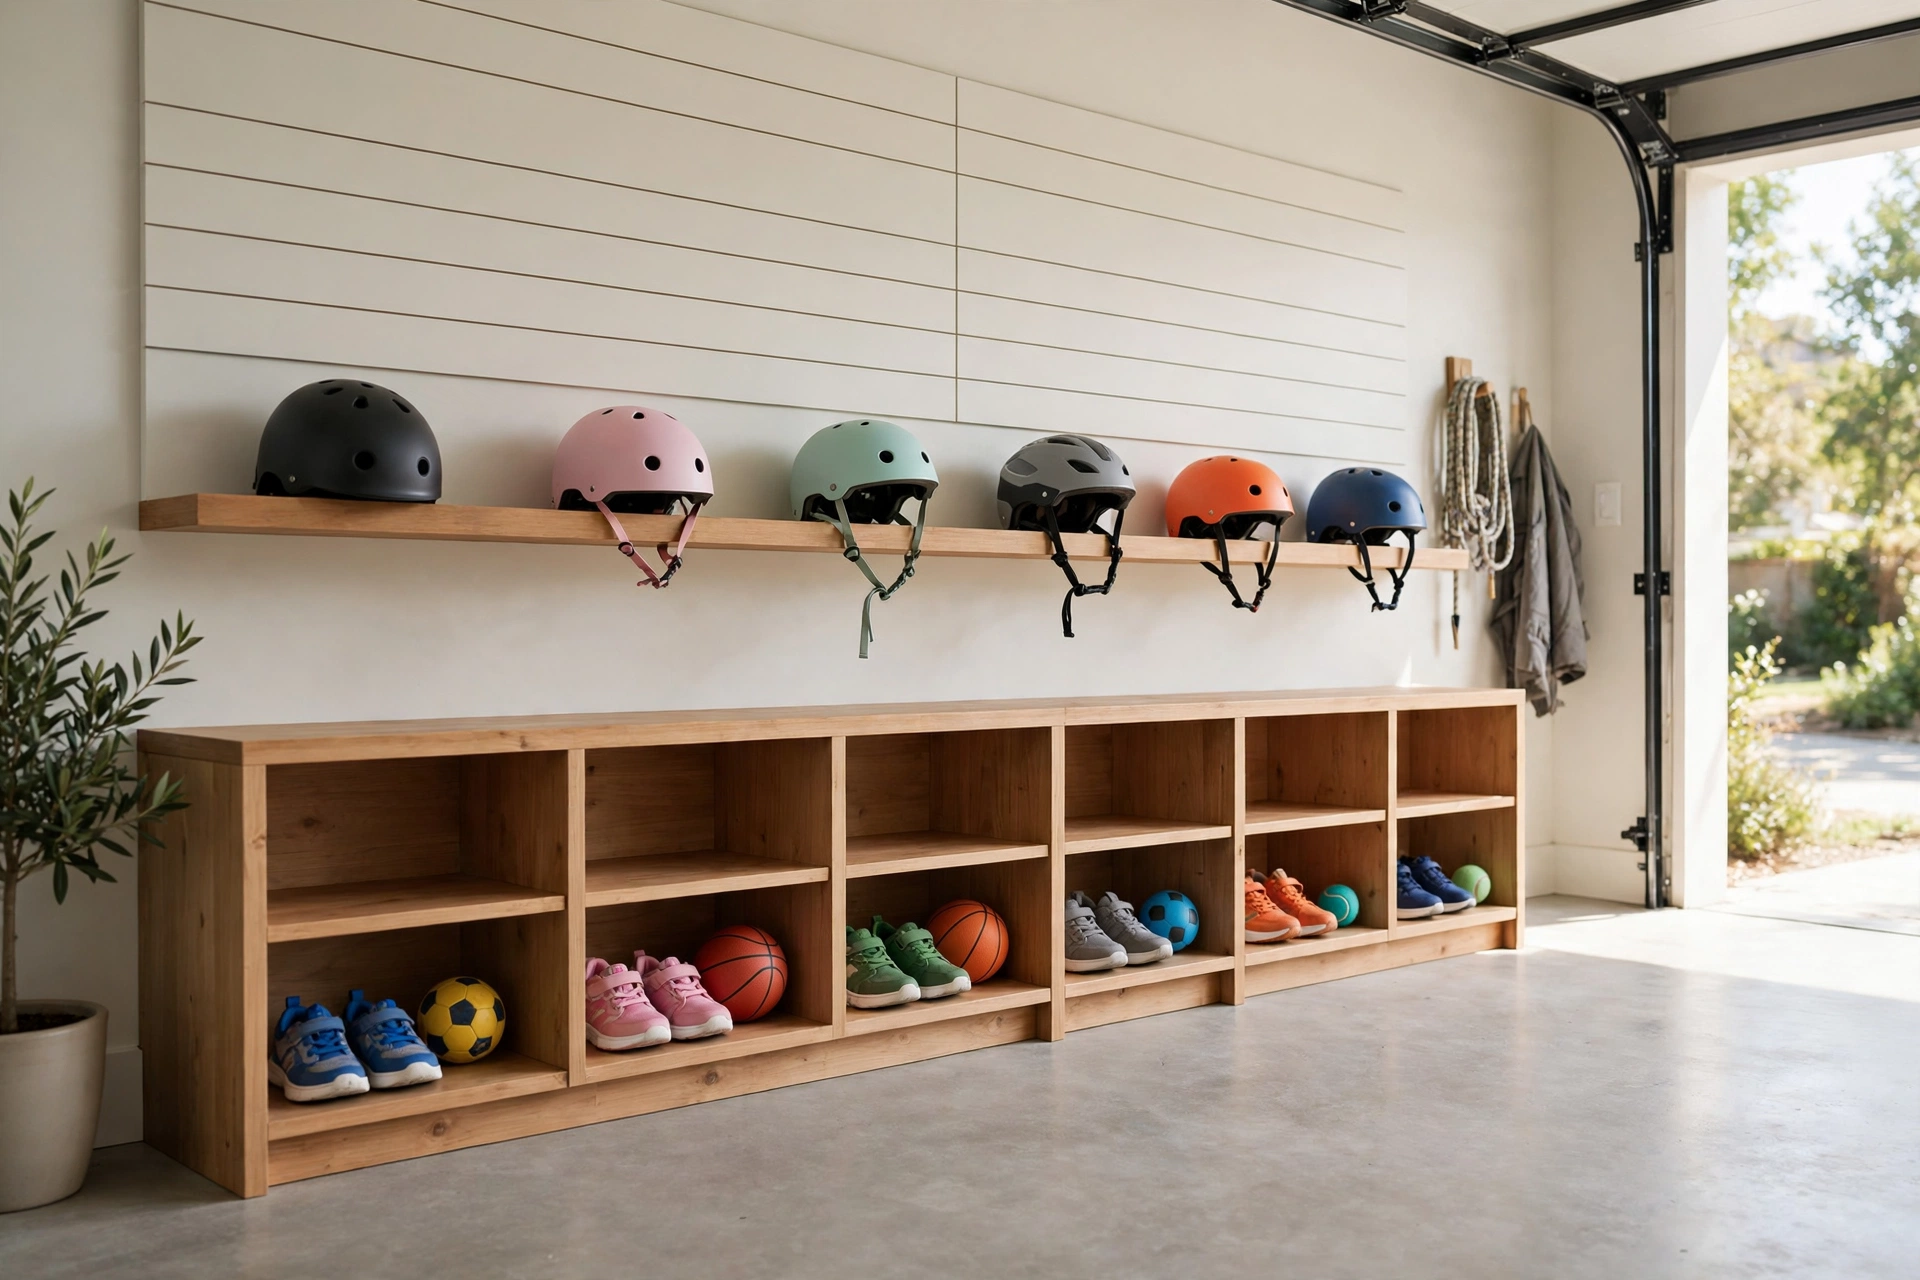
The cheapest per pair, and the only option sized exactly to your wall. A simple cubby shelf from 2x4s and plywood holds 12 to 20 pairs for about $30 to $60 in lumber, and a Saturday afternoon to build. Cut each cubby about 12 inches wide and 8 inches tall — wide enough for a pair of men’s sneakers, tall enough for high-tops — and leave the bottom row open for boots.
Cubbies suit a family with kids, because each child gets a cubby with their name on it, and the shoes stop migrating. Build them at kid height for the daily pairs and adult height for the rest, and paint the inside a light colour — a dark cubby hides shoes, and hidden shoes get forgotten.
WHERE TO PUT IT
The landing zone is the wall beside the door into the house, not the wall behind the car. Shoes come off at that door, so the storage goes there. If the rack is ten steps away, the shoes stay on the floor by the door — distance is the whole game.
Keep the car door swing clear. Measure it: open the car door fully and mark the arc on the floor, then keep every rack, tray and cabinet outside that arc. A rack that blocks the car door gets moved, and a moved rack becomes a pile again. The same rule from our garage storage ideas guide applies here — the daily zone by the door, and nothing in the swing.
Leave a path. One clear path from the house door to the car, at least 3 feet wide, with no shoe storage in it. The landing zone sits to one side of that path, never in it.
BOOTS, CLEATS AND WET SHOES
Wet shoes have one rule: dry before they are stored. A wet pair in a closed cabinet or a stacked pile smells within days, and the smell does not wash out of the shoes or the cabinet. Wet pairs go on the boot tray or upside down on the boot rack, in the open air, until they are dry.
Cleats and sports shoes get their own spot, because they are the muddiest pairs in the house. One tray or one low rack tier per sport, by the door, and the cleats never go upstairs or into the closet. After a game, knock the mud off outside before the shoes come in — two minutes at the door saves twenty minutes of sweeping later.
Winter salt is the quiet damage. Salt on the concrete eats the surface, and salt on the shoes eats the leather and the stitching. The boot tray catches it, and a quick wipe of the tray after a snowy day keeps the salt off the floor and out of the house. Our garage cleaning guide covers the salt stains that a missing tray leaves behind.
KIDS’ SHOES AND SPORTS GEAR
Kids’ shoes belong low, where kids can reach them. A rack tier at 12 to 18 inches off the floor is kid height, and a labelled bin per child — one bin, one kid, nothing else in it — ends the morning hunt for the missing sneaker. The bin holds the daily pair, the sports pair, and the rain boots, and nothing else.
Sports gear piles up next to the shoes, so give it the same treatment. Balls, gloves and helmets go on the wall above the shoe rack or in a bin beside it, not on the floor in front of it. Our garage bike storage guide uses the same idea — helmets and shoes on the wall by the door, bikes on the wall above — and the landing zone stays one zone instead of three piles.
SMALL GARAGE LAYOUTS
A one-car garage has one good wall for shoes: the wall beside the house door. A slanted wall rack fits there without eating floor space, and a boot tray sits underneath it. If that wall is taken, the wall behind the car door — the short wall by the front of the car — takes a narrow rack, as long as it stays out of the door swing.
A two-car garage has room for a full landing zone: a rack or cabinet on the house-door wall, a boot rack beside it, and a tray under both. The mistake is spreading the shoes across both walls — one zone, by the door everybody uses, and the other wall stays for tools and bikes.
A garage with no free wall at all takes a rotating tower in the corner by the door, or a freestanding rack that slides behind the car when the door closes. Measure the gap between the car and the wall first — a rack that fits only when the car is out is a rack that lives on the driveway.
WHAT IT COSTS
A starter setup — a 3-tier rack and a boot tray — runs about $25 to $55 and holds a couple’s shoes. A family setup — two racks or one tall rack, a boot rack, and two trays — runs about $60 to $120 and holds 20 to 30 pairs. A full wall system — a cabinet, a wall rack, a boot rack and trays — runs about $150 to $250 and hides everything.
The honest advice is the same as every article in this series: count the pairs first, buy the rack second. A $10 rack that fits the count beats a $200 cabinet that does not, and the count is free.
WHAT TO AVOID
The most common mistake is buying before counting. A rack that holds 12 pairs for a 30-pair family is a pile with a frame around it, and a cabinet that holds 24 pairs for a 6-pair couple is money on the wall.
The second mistake is closed storage for wet shoes. A cabinet, a lidded bin or a stacked pile traps damp, and damp shoes smell. Wet pairs dry in the open air first, every time.
The third mistake is shoes on the floor in front of the storage. The rack is full, so the extra pairs go on the floor beside it, and the floor pair becomes the pile again. When the rack is full, cull the pairs or add a tier — never start a floor pile.
The fourth mistake is blocking the car door. A rack in the door swing gets shoved, the shoes fall off, and the system dies in a week. Measure the swing before you mount anything.
FREQUENTLY ASKED QUESTIONS
What is the best garage shoe storage for a family?
A wall-mounted slanted rack for the daily pairs, a boot rack for the tall boots, and a boot tray underneath for the mud. One landing zone by the house door, one tier or cubby per person, and the shoes stop piling up. A family of four needs room for 12 to 20 pairs.
How many pairs of shoes should I keep in the garage?
Only the pairs you wear outside the house: everyday shoes, work boots, sports cleats, winter boots and rain boots. Dress shoes and anything you wear indoors stay in the closet. Most families keep 12 to 20 pairs in the garage and the rest inside.
How do I store shoes in a small garage?
Use the wall, not the floor. A slanted wall rack sticks out only 8 to 12 inches, a boot rack hangs the tall boots upside down, and a boot tray sits underneath. If there is no free wall, a rotating tower fits in a corner by the door.
How do I keep muddy shoes from ruining my garage floor?
A boot tray under the rack catches the mud, the snowmelt and the road salt. Knock the mud off outside before the shoes come in, and empty the tray after a wet day. A tray full of dirty water is worse than no tray at all.
How do I store tall boots in the garage?
Hang them upside down on a wall-mounted boot rack, so they drain, dry and keep their shape. A 2-pack that holds 4 pairs runs about $29. Never store tall boots flat in a bin — they crease, trap water, and smell.
How do I stop shoes from smelling in the garage?
Dry wet shoes in the open air before storing them, and never put a wet pair in a closed cabinet or a stacked pile. A boot rack or a tray in the open air dries a pair in a day. Cedar blocks or baking soda in the shoes help, but drying is the fix.
What size shoe rack do I need for my garage?
Count the pairs first, then buy. A 3-tier rack holds 12 to 20 pairs and costs about $10 to $20. A tall 10-tier rack holds 30 or more pairs for about $20. Measure the wall and the car door swing before you buy or mount anything.
Can I put a shoe cabinet in the garage?
Yes, if the garage is dry and the shoes going in are dry. A slim flip-drawer cabinet hides 6 to 24 pairs and costs about $60 and up. Do not put wet shoes in a closed cabinet — they smell within a week. Wet pairs dry on the tray or the boot rack first.
How do I organize kids’ shoes in the garage?
Low and labelled. A rack tier at 12 to 18 inches off the floor is kid height, and one bin per child holds the daily pair, the sports pair and the rain boots. The bin is the rule — if it does not fit in the bin, a pair leaves.
How do I keep the shoe pile from coming back?
One landing zone by the house door, one slot per pair, and a one-in-one-out rule: a new pair in means an old pair out. Cull the pile twice a year — spring and autumn — and the rack never overflows.
THE BOTTOM LINE
Garage shoe storage works when it follows the shoes: one landing zone by the house door, one slot per pair, wet pairs dried in the open air before they are stored, and nothing in the car door swing. A starter rack and a tray cost about $25 to $55, a family setup about $60 to $120, and the count before you buy is free.
Once the shoes have a home, the rest of the landing zone follows. Our garage storage ideas guide covers the zone system the shoe rack sits in, our garage organization ideas guide covers the daily habits that keep it tidy, and our garage cleaning guide covers the mud and the salt the boot tray catches.


