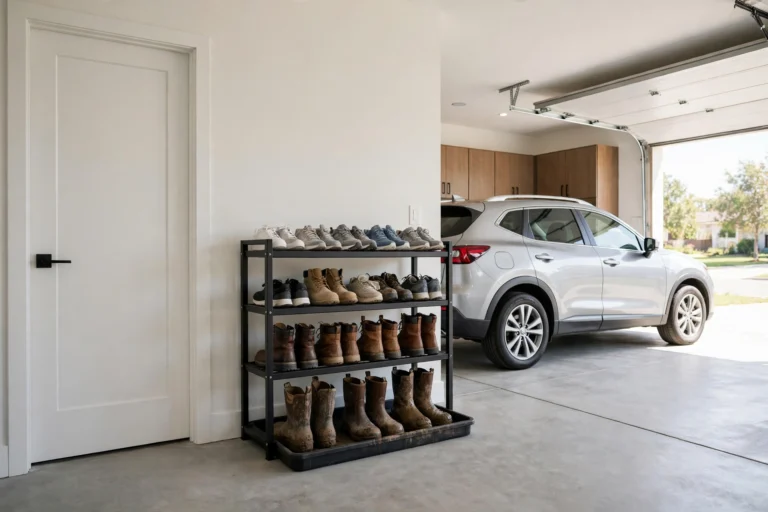
Garage Workbench Ideas: Build a Bench That Works
Garage Workbench Ideas for Every Budget and Space

Garage workbench ideas start with one question: what will you actually do on the bench? A bench for oil changes and brake jobs is not the same bench as one for woodworking, and both are different from a bench that mostly holds the drill and the screws. Get the job right first, and the bench builds itself around it.
This guide compares the three types that matter — DIY built-ins, bought freestanding benches and folding wall-mounted benches — with real sizes, weight limits, tops and tool storage. By the end you will know which bench fits your garage, what it holds, and what it costs.
THE THREE TYPES, COMPARED
A DIY built-in bench starts with two-by-fours, a sheet of plywood and a Saturday. Screw the frame to the wall studs, fix a plywood top, and you have a bench that does not move, does not wobble, and fits to the last inch of your wall. Expect to spend $50 to $100 on materials for a bench about 6 feet long, and it will hold well over 400 pounds if the frame sits on solid legs and the wall. The trade-off is time, and the fact that it stays where you built it.

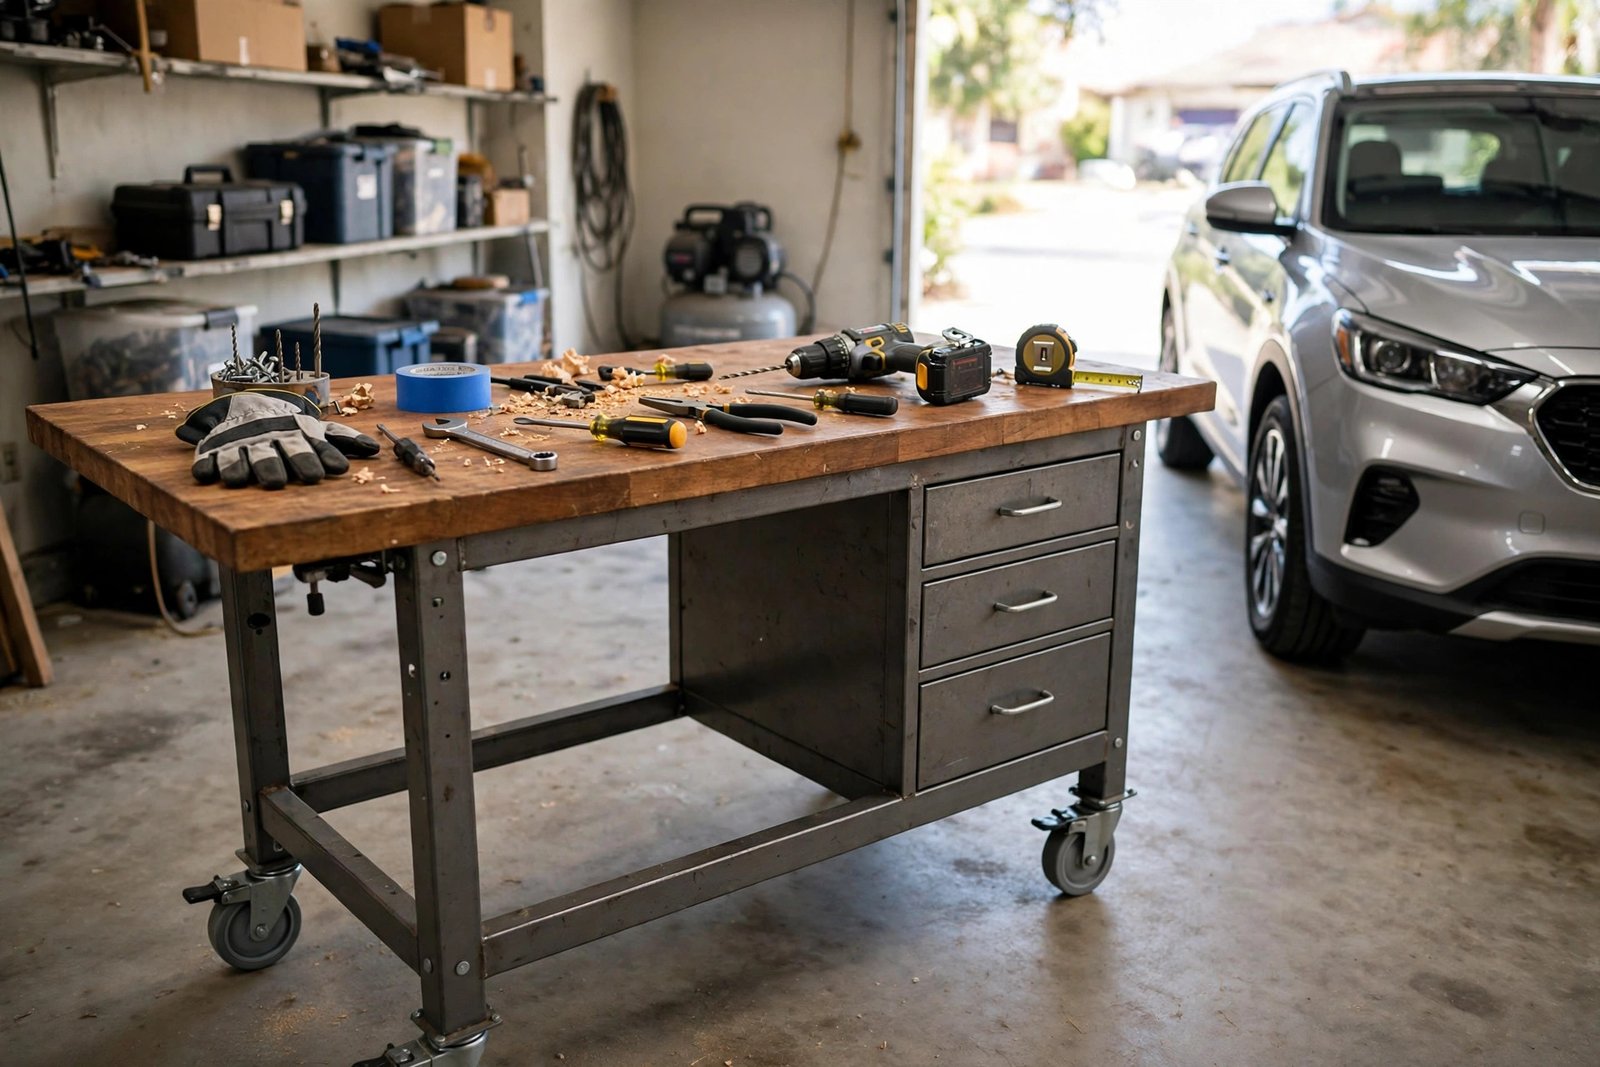
A bought freestanding bench arrives in a flat box and stands on its own steel legs. A steel-and-wood bench with two drawers runs $150 to $400 and arrives with the weight rating printed on the box — often 1,000 pounds or more — because the frame is welded, not screwed. It is the only type that makes sense if you want drawers and a finished look without an afternoon of cutting. The trade-off is the size: a bought bench is a fixed rectangle, and you cannot stretch it by six inches to fit your wall.

A folding wall-mounted bench is the third type, and the only one that disappears. The top hinges off the wall on brackets so the bench folds flat when you need the floor for the car. It costs $80 to $200 for the bench itself, and it is the type to buy when the garage parks two cars and no bench fits full-time. The weight limit is lower than the other two, usually 200 to 500 pounds, so do not work on the engine block on it. Use it for assembly, small repairs and anything that needs a bench for an hour rather than a day.
HOW TALL, HOW DEEP, HOW LONG?
A workbench is used wrong when it is built too tall or too deep, so measure first. The top should sit at wrist height when you stand next to it, with your arms loose at your sides — around 34 to 36 inches for most people, and you can subtract 2 to 3 inches if you will swing a hammer or use a mallet, because a bench that high forces you to lift the tool. Too low is bad too: a 30-inch bench is kind to your shoulders when you saw and chisel, but it will kill your back if you do oil changes for an hour. 34 to 36 inches is the middle that suits both.
Depth is the second measurement. 24 inches is the minimum for a work surface you can stand behind and reach across; anything shallower is really a shelf. 30 inches is comfortable when you want a vise at the front and tools behind it, and a deep bench once again makes you reach over a wide plain to reach the wall. More than 30 inches and the back of the bench turns into a shelf for clutter instead of a workspace.
Length is the least important dimension. A 6-foot bench in a two-car garage suits two people or two jobs at once; a short 4-footer works if you mostly do one task. If the bench is going along the back wall, run it wall to wall for cabinets above it, and leave a gap at the end if you want to hang a ladder.
THE TOP: WOOD, STEEL OR MDF?
A workbench top takes more abuse than the walls, so choose the material for the work. A butcher block top — two inches of glued maple — is the classic choice: it is flat, heavy, resists dents and can be re-sanded once it grows scarred. It costs $150 to $300 plus the frame, and is worth it only if you work on it daily. Glue and screws will move it: be sure to leave gaps for seasons, or use a bolted design that will not split it.
For most garages, a plywood top is enough. Two layers of three-quarter-inch plywood glued and screwed together make a top that holds up to saws and drills and costs $40 to $80. A plywood top is also easy to replace: when it is full of holes, unscrew it, put a new one on, and the bench is back in service in half an hour. MDF is the third option: it is flat, cheap and smooth, but it swells when oil or water gets on it and it dents under heavy parts, so use it for assembly benches and leave the greasy work to plywood. A stainless steel top is the last option. Heavy and expensive, it is great for a metalworking bench but it dulls tools and is cold on hands, so it belongs on a welding bench, not a woodworking one.
TOOL STORAGE: PEGBOARD, DRAWERS AND FRENCH CLEATS
The best bench is the bench you can find things on. Tools left on the top take up work space, so the bench needs tool storage close at hand. There are three cheap options — pegboard, drawers and French cleats — and all three cost less than $60.
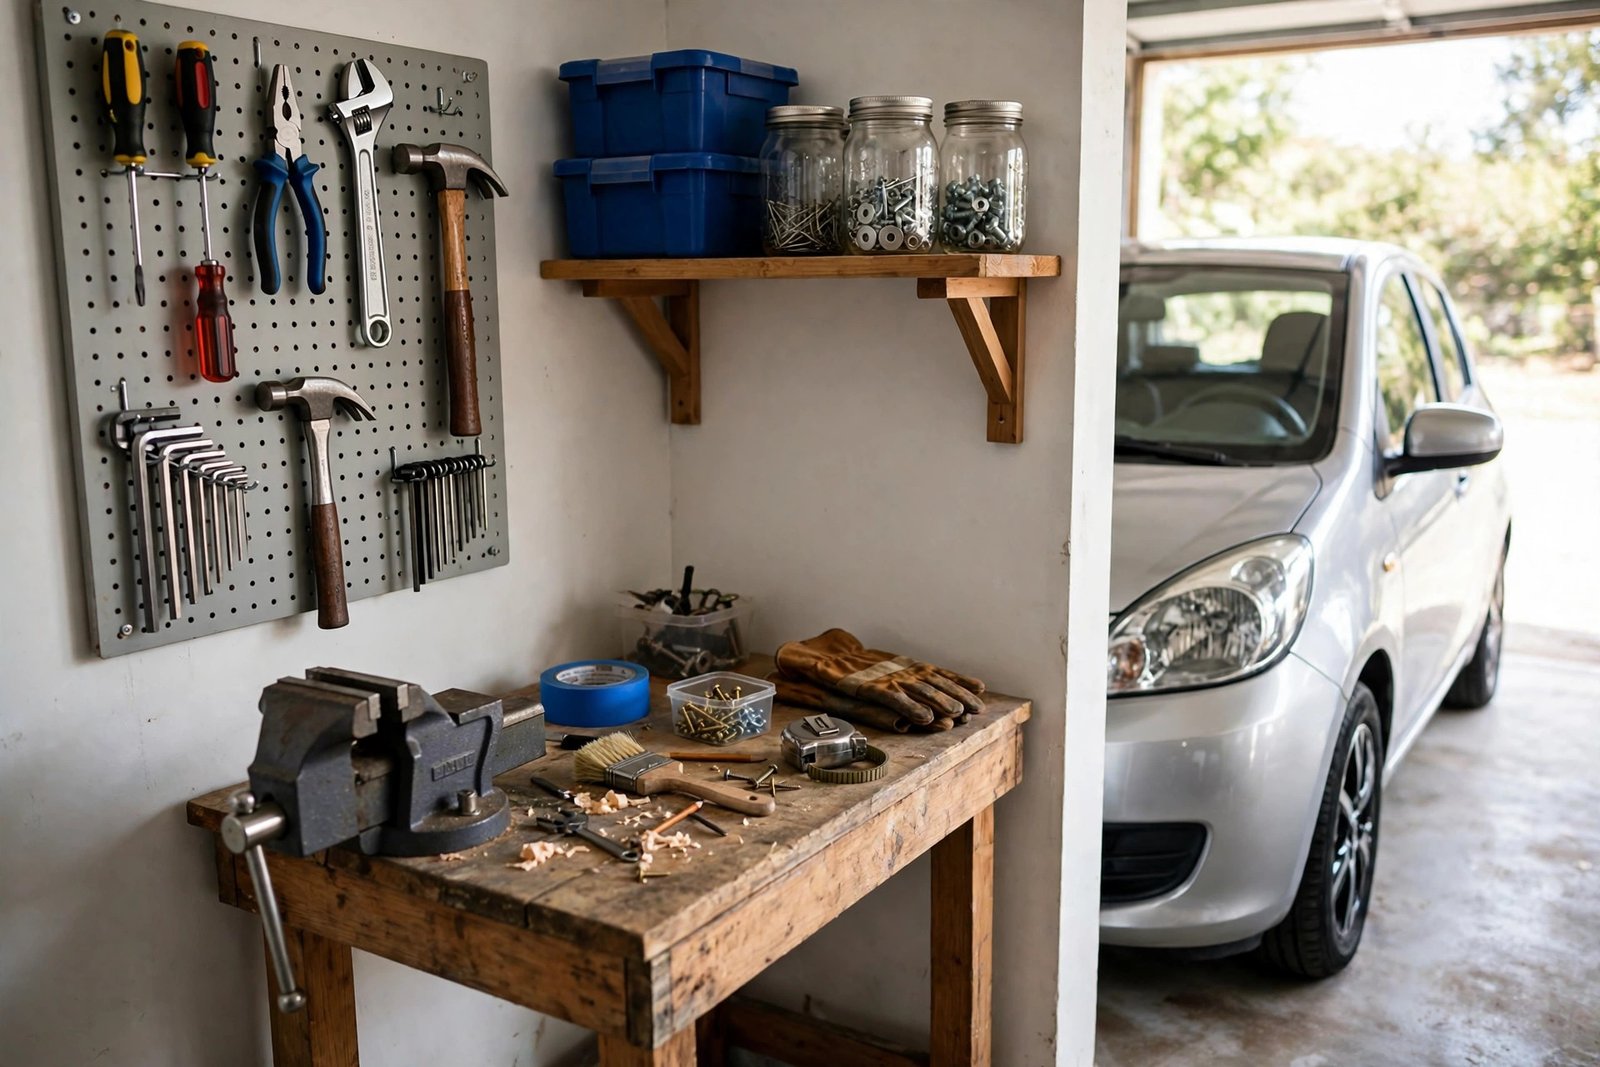
A pegboard is the cheapest way to hang tools where you see them. A 4-by-8-foot pegboard sheet costs $20 to $40 and holds the tools you use most. It mounts flat, so hang it on the wall 6 to 12 inches above the bench, screw it to studs, and put the tools where your hands can reach them. Mark each tool’s place — the best trick is the one from our garage organization guide — trace each tool’s outline on the board with a marker, so a missing tool shows up as an empty outline at a glance.
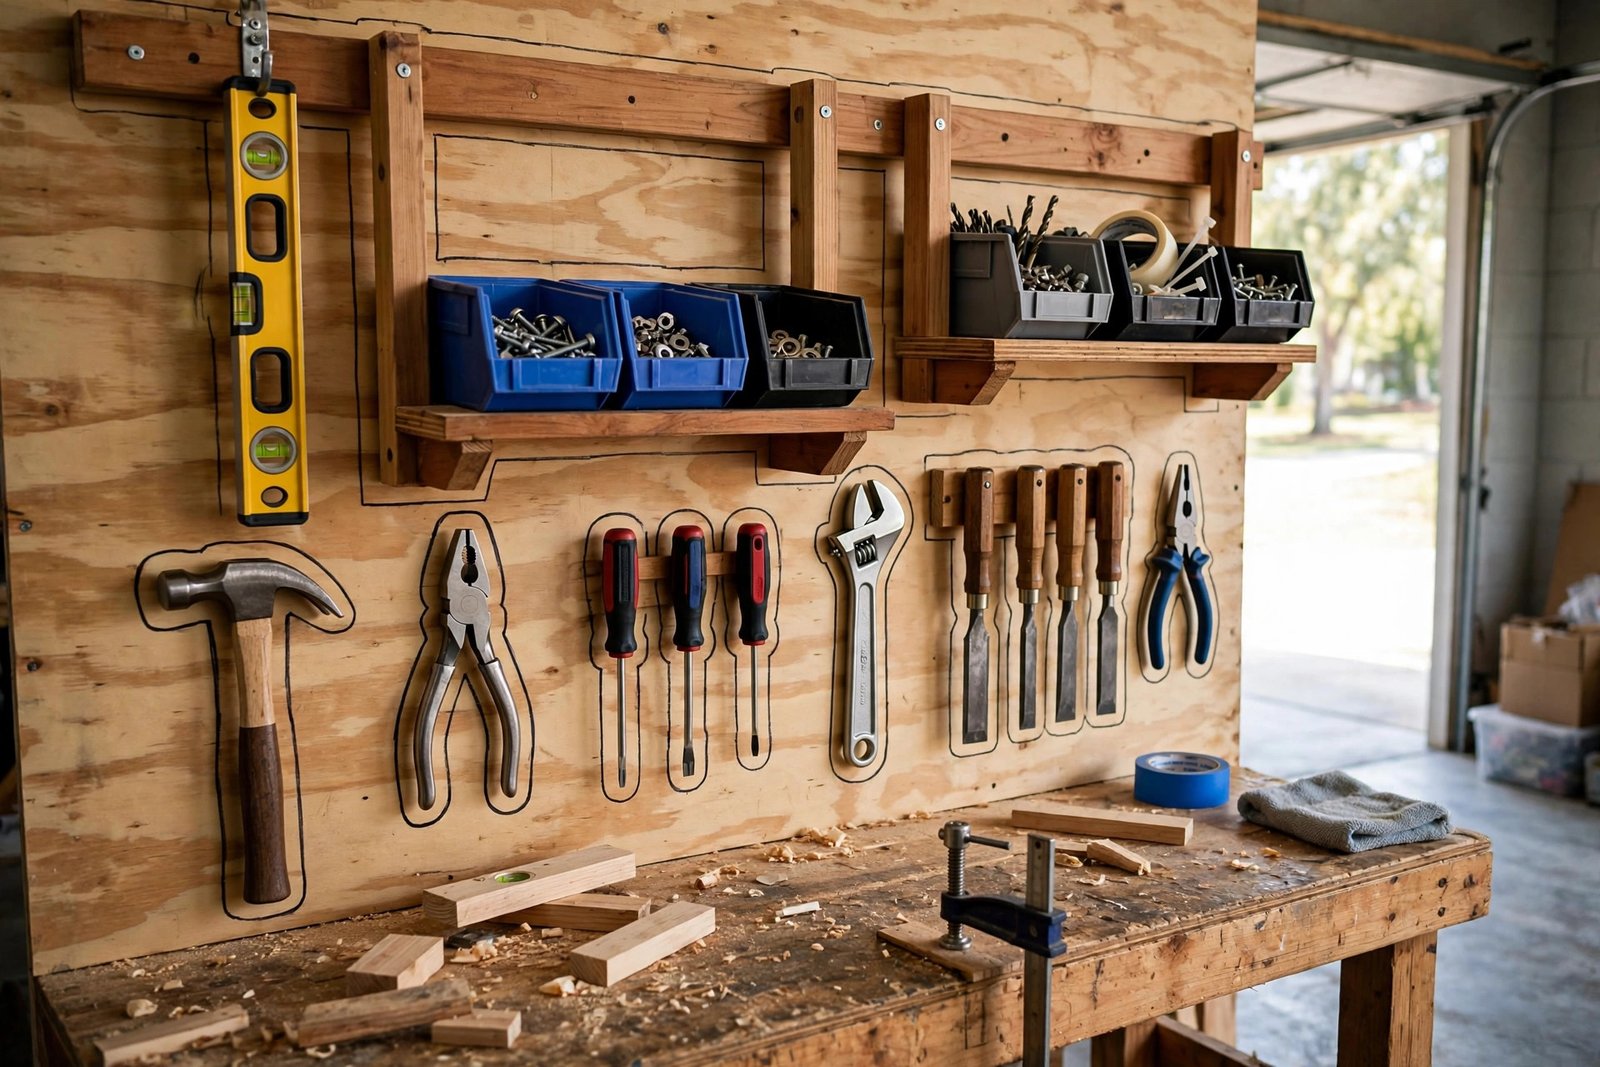
Drawers are the cleanest storage in a bought bench, and they cost nothing at all if they are already in the bench. Put the tools you use every day in the top drawer, and the heavy or sharp tools in the lower drawers, so the bench does not tip when you open them. Keep the top of the bench clear: a bench top is for working; a drawer is for storing. A separate tool cabinet is a better way to store tools than piling them on the bench.
French cleats are the third option: a wall-mounted rail of angled wood that holds shelves and holders which you can slide and rearrange. A cleat system costs $30 to $60 and it is the most flexible of the three: you can hang a small shelf, a screwdriver rail or a tool bucket, and move them to the other wall the next weekend. Build your own from plywood or buy a cleat kit, and mount the rails to the studs so they hold the load.
SMALL GARAGE: FOLDING AND MOBILE BENCHES
A small garage needs a bench that can disappear. A folding bench on the wall is the classic solution: it folds up against the wall when the car needs the space and folds down when you need the bench. It holds 200 to 500 pounds, so save the heavy work for a stronger bench. Bigger and heavier things need a different trick: a bench on wheels.
A mobile workbench on casters — lockable casters, $20 to $40 for a set — can roll out of the way when you want to park, or roll up to the car when you want to work on it. It is the best choice when your garage is a parking space first and a workshop second.
LIGHTING AND POWER: THE PART PEOPLE FORGET
A bench without light is a shelf. The simplest fix is an LED shop light mounted under a shelf or a cabinet above the bench, and a light on the bench itself is also an easy fix. A 4-foot LED shop light costs $25 to $50, throws 4,000-plus lumens onto a 6-foot bench, and mounts with two screws. If you can see the work, you will do it better, and you will see the tools you dropped.
Power is the other forgotten part. One double power point on the wall behind the bench is not enough, because the charger, the radio and the tool all want the same outlet. Mount a power strip to the wall or the bench, $15 to $30, to give yourself six outlets — and, once again, if there is no power near the bench, get an electrician to wire it before you mount the bench.
BUILD IT YOURSELF: FIVE STEPS, ONE SATURDAY
Build your own bench on one Saturday, in five steps. First, work out the size and the place: measure the wall, decide the height, and mark the top of the bench on the wall. Second, cut the frame and the legs: two legs and two rails, cut to length, and screw them together with the screws sitting square. Third, screw the frame to the wall studs. Fourth, lay the top on the frame, screw it down through the rails, and check the top is level. Fifth, bolt through the frame into the wall or use the brackets on the wall and put a brace across the bench, and test it by standing on it.
Too much bracing makes the bench wobble-free, but a brace that runs the full length of the back gives the frame stability without hurting your knees when you stand behind it. Add a shelf across the bottom for keeping oil and paint off the floor, and put a leg no wider than 24 inches apart so the bench does not lean. Once the frame is solid, the top is just a board on four legs, and the bench is done: if you build your own bench the right way, it will still be standing ten years later.
WHAT TO AVOID
The worst bench mistake is not bolting anything to the wall. A freestanding bench on a smooth concrete floor will creep forward when you plane wood or push against a vise. A bench that you bolt to the wall — or a heavy-built frame — solves the problem; a free-standing bench on plain wheels will creep too, so lock the casters or bolt the bench to the wall.
The second mistake is building a bench that is too deep, too tall or too narrow to suit the work. A 36-inch deep bench with clutter piling at its back soon becomes a shelf you cannot reach across. A tall bench takes tools to a height that hurts your shoulders. A narrow-legged bench tips over the moment you lean on it at the front. All three are traps that make an expensive bench worse than a cheap one.
The third mistake is forgetting where the power is. If there is no outlet near the bench, the battery charger goes on the floor and the cable runs across the garage. Plan the power before you place the bench: get an electrician to wire a double outlet with a power strip while the bench is still just a plan.
WHAT IT COSTS
Add it all up and the price ranges stay honest. A DIY bench costs $50 to $100 on materials and a day of your time. A steel bench with drawers runs $150 to $400. A folding bench is $80 to $200. The top adds $40 to $80 for plywood, or $150 to $300 for butcher block. Add pegboard for $20 to $40, French cleats for $30 to $60, a shop light for $25 to $50, lockable casters for $20 to $40, and a power strip for $15 to $30. Even a well-kitted bench stays well under $500: most people can set up a workbench for $150 to $400 and have a bench that serves the garage for years.
So the honest advice is the same as every article in this series: a DIY bench for a permanent workspace, a bought bench for drawers and a finished look, and a folding bench for a small garage. Spend on the top and on light before you spend on fancy drawers.
FREQUENTLY ASKED QUESTIONS
How tall should a garage workbench be?
34 to 36 inches for most people — wrist height when you stand next to it. Subtract 2 to 3 inches if you swing a hammer on the bench.
How deep should a workbench be?
24 inches is the minimum. 30 inches is comfortable when you want a vise at the front and tools behind it. More than 30 inches and the back turns into a shelf for clutter.
What is the best workbench top?
For most garages, two layers of 3/4-inch plywood glued and screwed together, $40 to $80, and it is easy to replace. Butcher block, $150 to $300, is the classic choice if you work on the bench daily.
How much weight can a workbench hold?
A DIY bench on wall studs with solid legs holds well over 400 pounds. A bought steel bench often lists 1,000 pounds or more. A folding bench is usually 200 to 500 pounds, so do not work on the engine block on it.
Should I build or buy a workbench?
Build when the wall is an odd size or the budget is tight — a basic DIY bench runs about $50 to $100. Buy when you want drawers and a finished look, $150 to $400, without an afternoon of cutting.
Is a folding workbench any good?
Yes, for assembly and small repairs. A folding bench holds 200 to 500 pounds and folds flat against the wall, so it is the best choice for a small garage where the car needs the floor. Save the heavy work for a stronger bench.
How do I store tools at a workbench?
Hang a pegboard 6 to 12 inches above the bench and trace each tool’s outline on it, use the top drawer of a bought bench for daily tools, and use French cleats for shelves and holders you can slide and rearrange.
What about a workbench in a small garage?
Use a folding bench on the wall for occasional use, or a mobile bench on lockable casters, $20 to $40 a set, that rolls out of the way. Both keep the floor clear for parking.
How much does a garage workbench cost?
A DIY bench is $50 to $100 on materials. A steel bench with drawers is $150 to $400. A folding bench is $80 to $200. Add the top, pegboard, light and power strip and most people spend $150 to $400 all-in.
Workbench against the wall or freestanding?
Bolt benches to the wall whenever you can — a freestanding bench creeps and tips on smooth concrete. A mobile bench on lockable casters is the exception, and it still does best near the wall.
THE BOTTOM LINE
Garage workbench ideas work when the bench matches the job. DIY built-in for a permanent bench, bought steel for drawers and a finished look, folding for a small garage. Build it at wrist height, 24 to 30 inches deep, bolt it to the wall, and plan the tool storage before the bench.
Once the bench is up, the storage around it is the next job. Our garage shelving guide covers the steel, wire and wood shelves that hold the bins and boxes, and our garage storage ideas guide covers the racks, cabinets and bikes that share the wall with your new bench.